
The Art of Hardwood Acclimation—Let’s Make it Simple!
There's a critical step that every seasoned contractor swears by..
Ready to beautify your home with solid or engineered hardwood floors? You’re already on the right track, then, as there’s a timeless charm to hardwood that no other material can replicate in full. Before you dive into installation, though, there's a critical step that every seasoned contractor swears by: hardwood acclimation.
of our very favorite professional contractors (and HGTV star), Josh Temple, knows more than a thing or two about this crucial process, so let's take a closer look at his tips, and get a step closer to the pristine, long-lasting hardwood floors you’re after.
Preparing Your Space
Setting up your acclimation station is essential. This isn't just about laying down the hardwood; it’s about letting the boards adjust to your room’s unique environment. Thankfully, there are but a few steps you need to follow in order to achieve this:
• If you're working over concrete or slab, place a layer of plastic to act as a moisture barrier.
• Arrange 2x4s, spaced about a foot apart, on which to stack your hardwood boxes while allowing proper ventilation.
• Keep the planks in their boxes but remove any plastic wrapping to let them breathe.
• Stack the boxes in a waffle pattern, leaving space in between for airflow, aiding in acclimation.
And then, you wait! The exact amount of time will vary based on the type of flooring you’re working with, but speaking generally, you’ll want to allow approximately allow between 24 and 72 hours for your manufactured flooring options, and 5 to 14 days for your hardwood flooring options.
Time and Temperature: Acclimation’s Best Friends
The conditions in which you acclimate your boards should match the normal year-round conditions for the space in which you’re installing your new floor. For most homes, this means a temperature between 60 and 80 degrees Fahrenheit, and a relative humidity level between 30 percent and 50 percent. Some key pointers here:
• You can use a thermometer and a hygrometer to monitor your space’s temperature and humidity.
• Significant fluctuations can cause your flooring material to swell or shrink. Therefore, you’ll want to keep your acclimation conditions consistent throughout the process.
• You can use fans, humidifiers, and dehumidifiers as needed to maintain ideal levels.
• The amount of time required for acclimation can vary, so be sure to ready the WIC (Warranty, Install, and Care Guide) associated with your flooring for specifics.
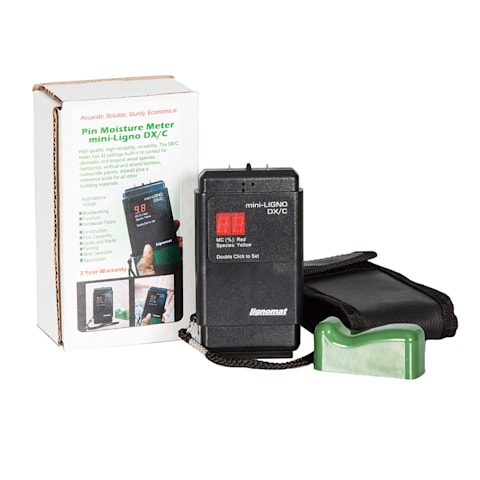
When the time comes to assess whether or not your flooring planks are ready to install, you can use a moisture meter, like the Lignomat Ligno-Scanner SDM, to check their moisture content and make your final call.
All About Wood Subfloors
One thing Josh can’t stress enough is that if you're installing over wood, it's critically important to test that subfloor's moisture level. Typically, if the planks you’re installing are less than three inches wide, then the moisture levels of your planks and your subfloor should be within 4 percent of one another. If the boards are wider than three inches, then the difference should be 2 percent. As always, though, be sure to consult your installation instructions for precise acclimation guidance.
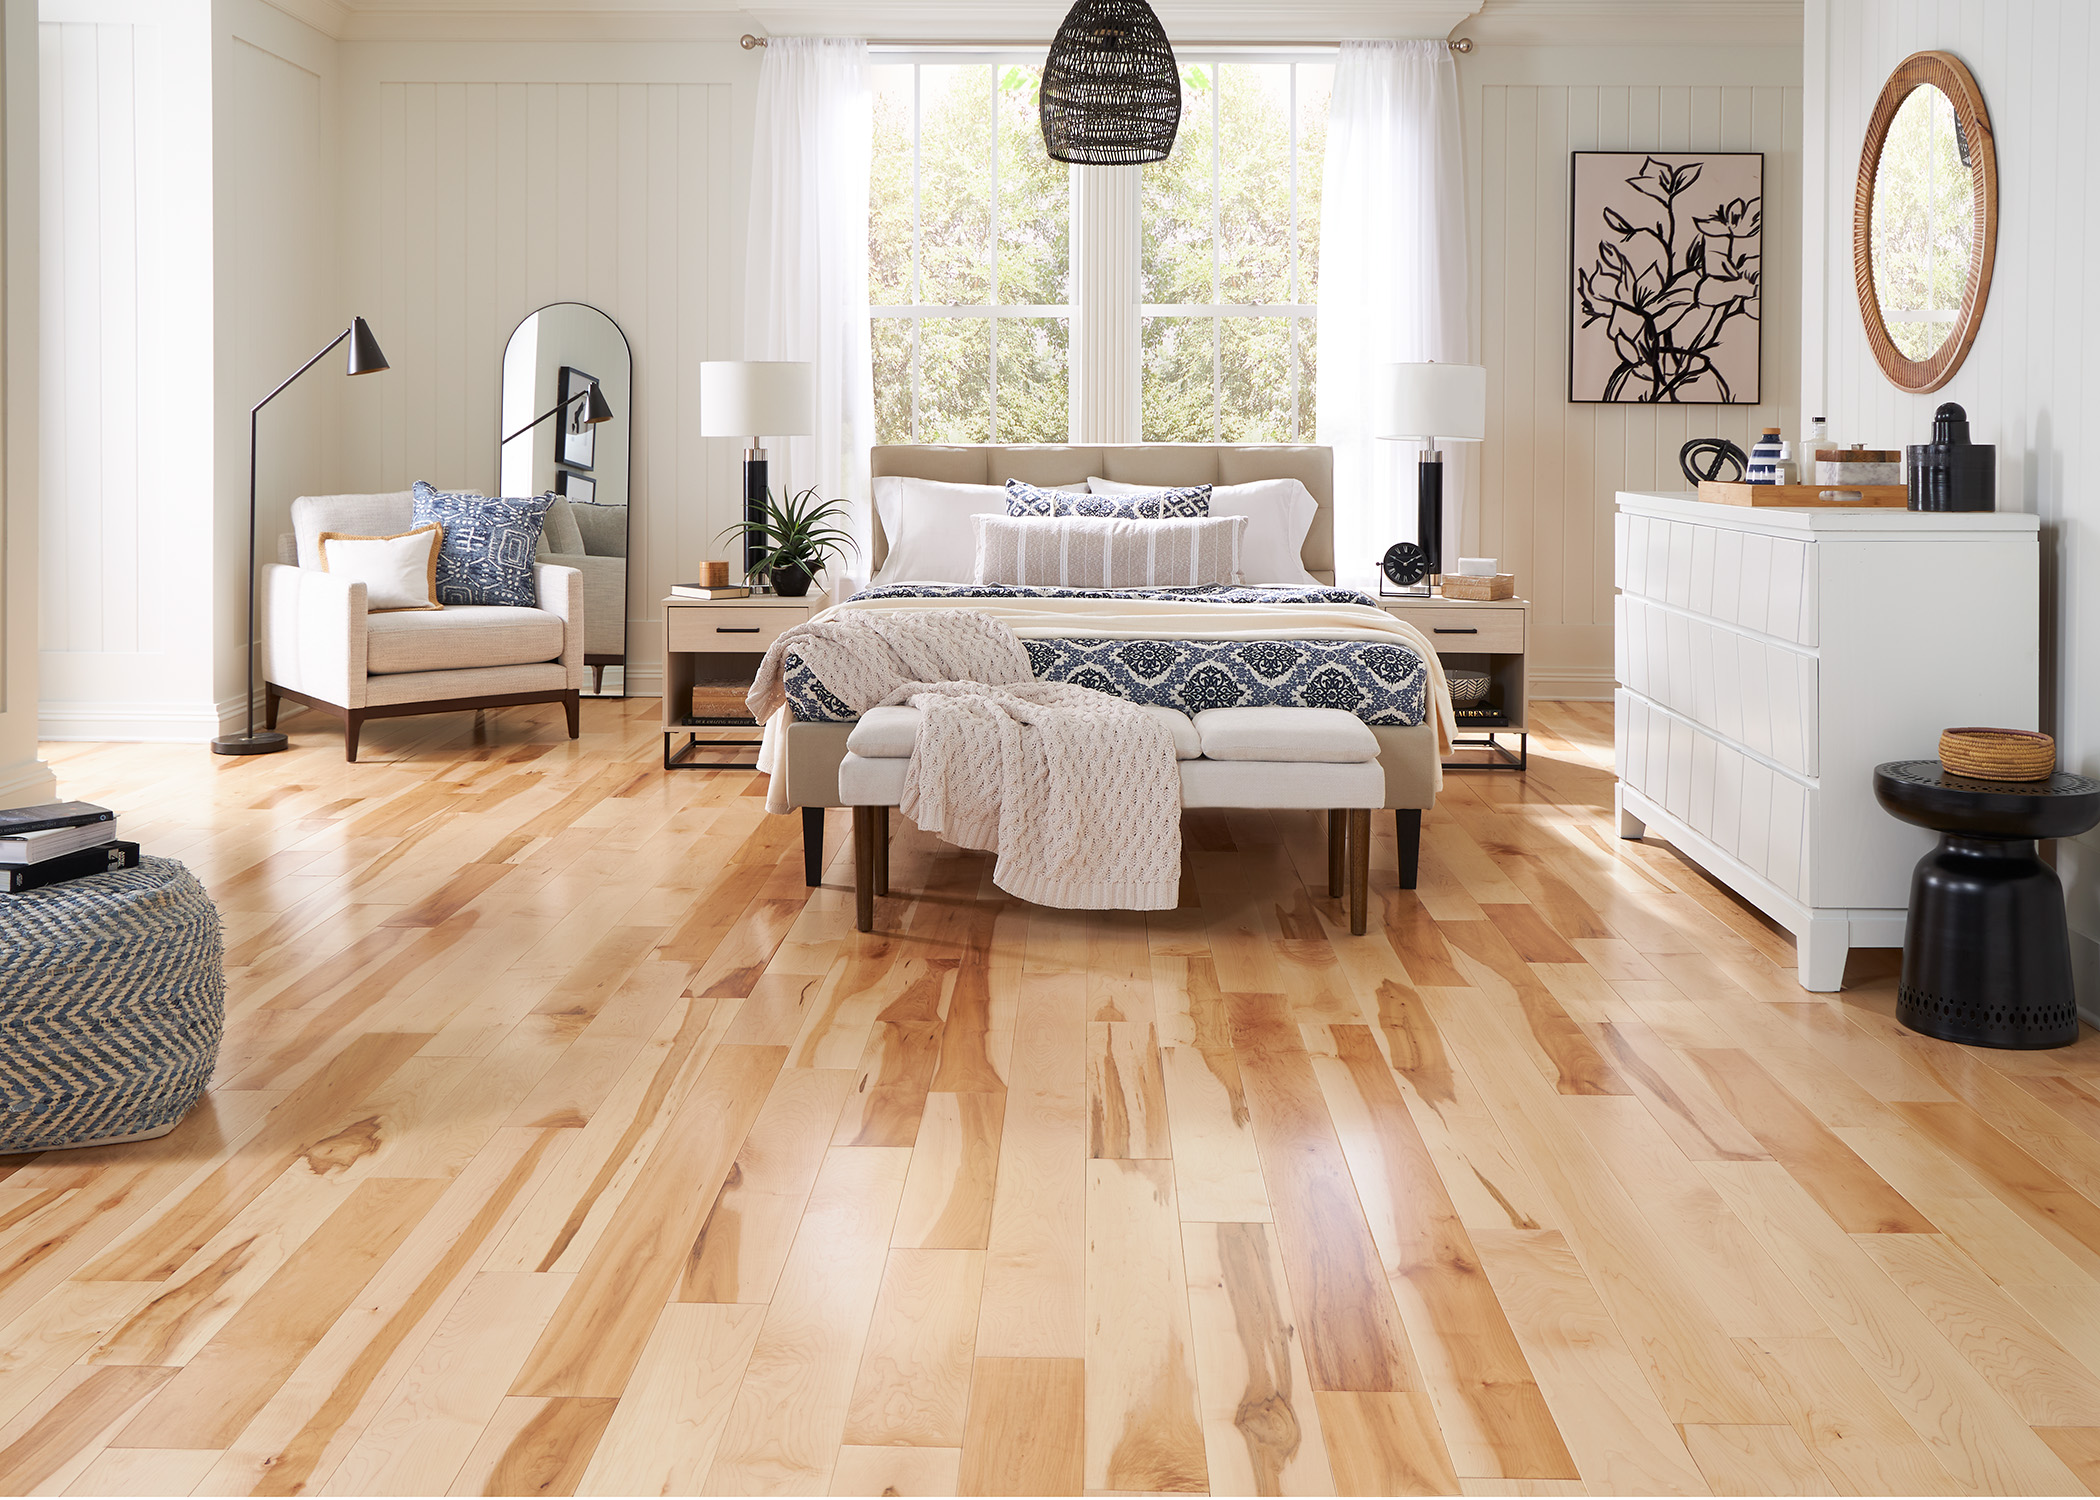
Happy Hardwood, Happy Home
Acclimating your hardwood properly helps mitigate potential installation failures from gapping, cupping, crowning, and buckling. It also helps to maximize your floor’s lifespan, ensuring an amazing aesthetic that will charm for years to come.
So, be sure to follow these pro tips, and watch Josh Temple explain how to acclimate flooring as only he can!
Follow LL Style on Instagram & Pinterest
ALSO, do you learn about home improvement and design with fun and informative videos? Subscribe to the LL Flooring YouTube Channel to learn more, leave comments or ideas that helped you, and join the community!
Watch this video below showing the importance and plan for proper acclimation featuring Josh Temple.
Shop this Article
Related Articles