

Vinyl Plank Flooring in Kitchens
Installing vinyl plank flooring in your kitchen is a simple and cost-effective way to add style and waterproof performance.
Tips on Installing Vinyl Plank Flooring in Your Kitchen
Kitchen flooring can get a lot of foot traffic—not to mention spills, splashes, and accidents. That’s why it’s important to have flooring in your kitchen that can withstand all that activity and still come out looking good. With vinyl plank flooring, you’ll get just that—a waterproof option that’s kid-, pet-, and clumsy chef-proof. Keep reading to learn more about the benefits of vinyl and how to install it in your kitchen.

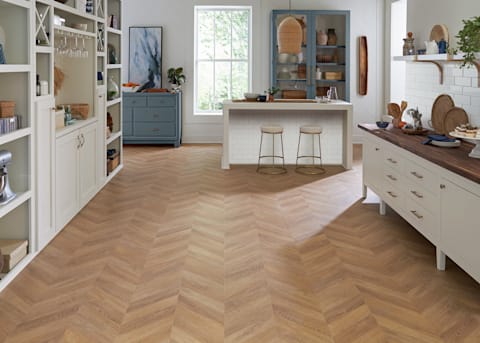
7mm w/pad Rattan Maple Waterproof Rigid Vinyl Plank Flooring
What Is Vinyl Plank?
Vinyl plank flooring is made up of various layers. Starting from the top down, you’ll find a protective wear layer, a décor layer, a core for stability, and, on some products, an attached pad. Our rigid vinyl plank (RVP) collection, from CoreLuxe, contains a stone-based polymer composite (SPC) core that provides an extra level of strength and dent resistance.
We also have a curated selection of direct print vinyl flooring from CoreLuxe, called the Harmony Collection. The colors and textures are printed directly on the SPC core for an even more realistic and crisper finish. It also has a UV-cured surface layer for increased resilience.
Why Is Vinyl Plank Great for a Kitchen?
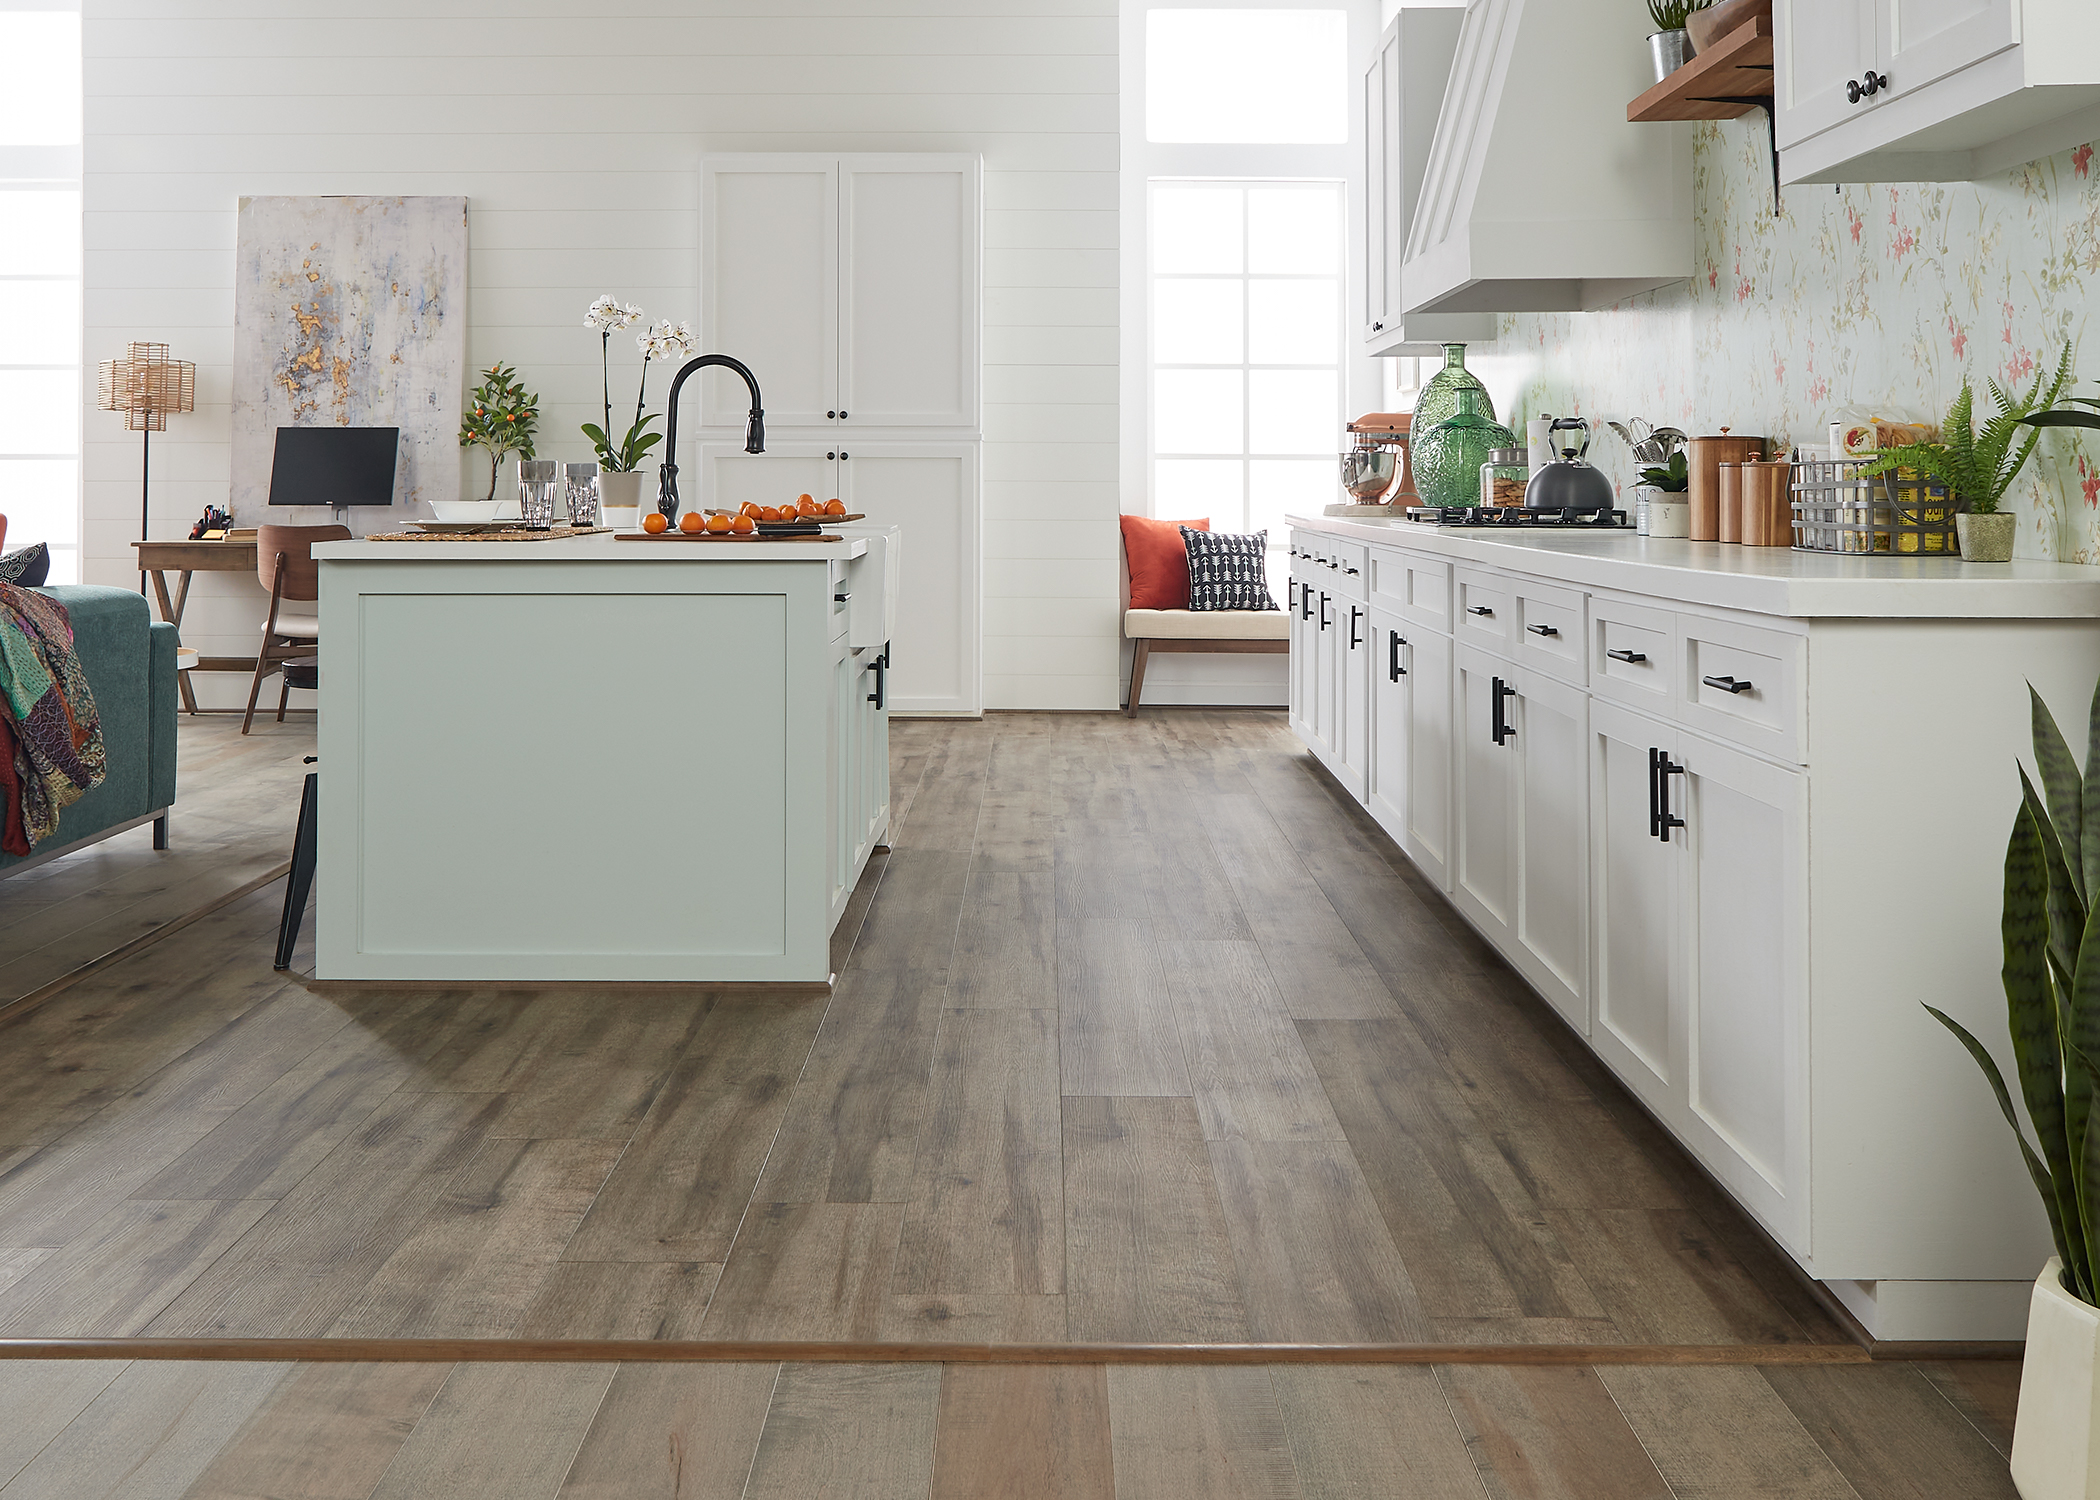
In addition to the waterproof and wear benefits, our collection of vinyl plank flooring can elevate your kitchen décor with exquisite wood and stone looks. We offer designs to fit a variety of preferences and styles, including formal, casual, traditional, and statement-making. The realistic grain patterns and stone designs not only appeal to the eye, but are budget-friendly. And as a waterproof product, this flooring is easy to clean.
How Do I Install Vinyl Plank in My Kitchen?
Your installation guidelines are available online for your particular product, so be sure to read them thoroughly before beginning your project. The most popular method is easy click-together installation to create a floating floor, but you can also glue your vinyl planks down.
Before You Start
Acclimate your vinyl planks to the room where they’ll be installed. You’ll find guidelines in your instructions, but typically you would acclimate luxury vinyl plank (LVP) for 48 hours or rigid vinyl plank (RVP) for 24 hours at 65 to 85 degrees.
Remove all furniture and moveable appliances, vents, baseboards, and shoe molding. In many instances, you can install your vinyl plank over existing tile, vinyl, and wood flooring provided that the flooring is well bonded and secure. Do not install over other floating floor products or cushioned vinyl.
If installing directly over your subfloor, make sure it's clean, flat, dry, and sound. This may require you to smooth out imperfections with a leveling compound or make repairs to your plywood subfloor.
Determine which direction you’ll be installing your planks. The most common method is parallel to the longest wall. Also, mix the planks from several cartons for a more even aesthetic.
Make sure there’s clearance under door casings and jambs. Undercut, if needed.
Lay Your Underlayment
When installing floating floors, we highly recommend using an underlayment for improved insulation and sound control. Vinyl planks with attached pads are a convenient option, although using an underlayment as well can bring additional benefits. If you’re installing over concrete, lay a 6 mil polyurethane moisture barrier first. Vinyl is waterproof, but can be affected by high alkalinity.
Install Your Planks
For click-together installation, insert the tongue of one plank into the groove of the other at an approximately 20-degree angle, and then push down using forward pressure. You can use a vinyl seam roller or a white rubber mallet to ensure the seams are flat and even, while avoiding excessive force. Use spacers between the flooring and your walls or other fixed objects to create the necessary expansion gap. Of course, you should always refer to your product's installation guide for the instructions specific to your install mechanism.
Stagger your seams for a more natural flow. You can do this by using a shorter plank at the start of each new row. Some vinyl planks can be cut with a sharp utility knife. You could also use a flooring cutter or miter saw.
You may be wondering how to install vinyl plank flooring around kitchen cabinets. For working around cabinets and other fixed objects, make a template and trace it onto your planks. Then cut along the line with a jig saw. Be sure to remember to leave an expansion gap. A related question may also arise: can vinyl plank flooring be installed under kitchen cabinets? Unfortunately the floor needs to float free and placing cabinets on top of it will not allow this, so the answer is no. Do not install any fixed items such as islands on top of your floating floors. You may install them over glue-down vinyl floors, although it's not recommended.
Use transition moldings such as thresholds, T-molding, and reducers as needed for doorways and for transitioning to different flooring types. You can find a wide selection of moldings and trims at LL Flooring. Replace baseboards and shoe molding and other trims like vents before reinstalling any appliances or furniture.
Gluing down your vinyl flooring involves a bit more work since you'll be setting your planks on adhesive after clicking them together. Follow your manual carefully as well as the instructions for your chosen adhesive, which you can find among our selection of floor prep materials.
Maintaining Your Vinyl Plank Flooring
You can wet mop your vinyl plank floor without worry, and even steam mop at the appropriate setting. Look to your product's warranty, installation, and care guide for additional care tips. LL Flooring offers floor care supplies you can trust to keep your vinyl in good condition. Bellawood Floor Cleaner will clean your floor without dulling it or leaving a streaky residue. You can even choose a convenient maintenance kit that includes a cleaner and a mop with washable wet and dry mop pads.
Vinyl plank is not only suitable for your kitchen; it’s a great option that combines style, easy installation, and budget-friendliness. Take a look at our vinyl plank options and use our Picture It! Floor Visualizer to get an idea of how they will look in your kitchen. If you’re still undecided on what kind of flooring to use in your kitchen, explore our kitchen flooring guide for more inspiration and information. You can also call us at 1-800-227-4036 to speak with one of our representatives.
Shop this Article
Related Articles