
Peel-and-Stick Vinyl 101
Peel-and-stick vinyl flooring offers one of the simplest flooring installation methods. Learn how to install your vinyl planks in any room.
Tips on How to Install Peel-and-Stick Vinyl Plank Flooring
You've chosen beautiful new peel-and-stick vinyl flooring, bringing the look of wood or stone into your home, and you're ready to start enjoying all those fabulous features that will help it stand up to the activity in your busy household. Just one question remains—how do you install it? Thankfully, vinyl flooring is easy to work with, and this quick guide will teach you how to lay those planks down like a seasoned DIY ace.
Why Choose Peel-and-Stick Vinyl?
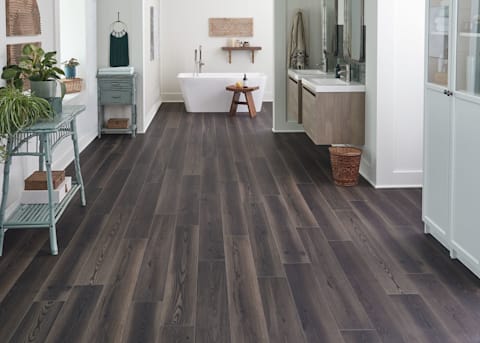
Peel-and-stick vinyl is a versatile flooring product. Not only is it DIY-friendly, but it's also waterproof, wear-resistant, and available in many designs and styles. This makes it a great choice for almost any room in your house, including wet rooms like kitchens and bathrooms.

How to Begin Installing Peel-and-Stick Vinyl Planks
Before you install any type of flooring, it’s important to acclimate it to the temperature and humidity of your home. With peel-and-stick vinyl, keep your planks in the room where you’ll install them for 24-48 hours, or as long as the manufacturer recommends. This will ensure that there’s no gapping, warping, or cupping after installation.
Apart from carpeting, you can install peel-and-stick vinyl over any clean and level floor. Do not install this flooring over cushioned vinyl flooring, existing floating floor products, resilient tile below grade, particleboard, waferboard, or single-layer STURD-I-FLOOR® panels.
Peel-and-stick is one of the easiest installation options and is available for our LVP or tiles. This flooring includes a convenient pre-applied adhesive, though we do recommend using a latex primer to create a clean surface on the subfloor or existing floor prior to installation. It's absolutely crucial that all dirt, dust, crumbs, and other debris are removed, or you risk a weaker adhesion. And, you can't use underlayment with peel-and-stick.
Once your surface is clean, simply peel away the protective covering and lay your tiles or planks down on top. Because the adhesion of the flooring isn't as strong as glue-down, peel-and-stick is best for residential use. Once your peel-and-stick installation is complete, your new flooring is immediately ready to be used.
What You'll Need
Before you begin installation, it's best to gather your tools so they're close at hand while you work. For installing peel-and-stick vinyl, you'll need:
- Tape measure
- Utility knife
- Chalk-line
- Flooring roller
Measure
Measure the surface area for the installation, using feet and inches. Always purchase a little more flooring than you need to cover any mistakes made during installation and with repairs if you damage your flooring later on. A rule of thumb is to get 5-10% extra flooring at the start of any project.
Plan
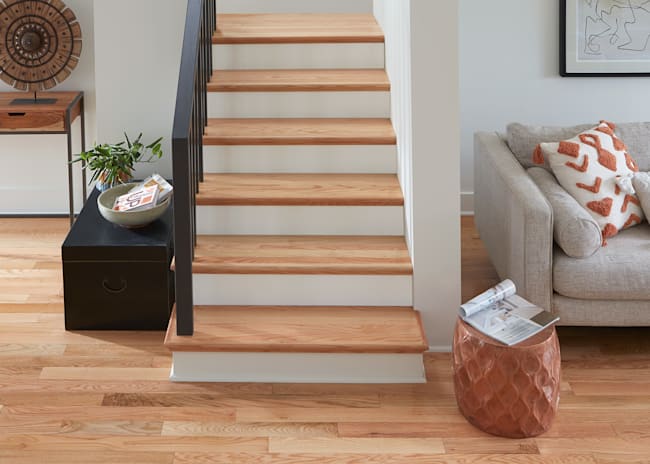
With peel-and-stick vinyl flooring, once it’s down, it’s down. There’s no pulling it back up to adjust. This is why it’s important to plan how you’re going to install your flooring. Don't forget about your baseboards, risers, trim, and stair noses. Purchasing these elements at the same time as your flooring will help your project flow quickly and smoothly.
In general, we recommend installing planks parallel to the longest wall for the best look. It’s easy to do this, but not all walls are square with one another. Double-check that your walls are square before laying down your flooring or mark straight lines on the floor with chalk and use those as a guide for how you lay your flooring. Take a few moments to look over your tiles to make sure that you mix and match them. You don't want to lay similar-looking panels next to each other as this detracts from the aesthetics of the flooring.
The first plank you lay down is the most important, as you’ll run all your other planks according to the position of this one. You can start either in the middle of the room where you've marked the center with chalk or against one of the longer walls.
Prepare
While it’s easy to install peel-and-stick vinyl on most surfaces, be sure your surface is clean, dry, and level. If your surface is not clean, dry, or level, this will affect the adhesive by making it less 'sticky' and this will shorten the lifespan of your vinyl as it may start to lift or warp.
Even and Level
Flooring that is not level might need to be removed or repaired before you can install your peel-and-stick flooring. If installing on concrete or subfloor, make sure that your flooring is level using a bubble or laser level. Floors that aren’t level need to be addressed before you can install your peel-and-stick vinyl to ensure a successful and lasting installation.
When installing over tile, seams should fall in the center of the tile, and grout lines should be addressed using embossing leveler. And, when installing over an existing resilient floor, lay out the installation so the new seams are a minimum of 6˝ away from the original seams.
Clean and Dry
Use a broom and mop to clean your surface thoroughly. It may take more than one cleaning, especially when removing substantial amounts of dust. Any residual dust, dirt, or residues will negatively impact the adhesive on your vinyl. Because this product is limited from a moisture perspective, check the installation specifications for your flooring and test for moisture where the flooring will be installed.
Prime Your Floor (highly recommended)
Peel-and-stick vinyl planks do not need an underlayment but using a latex primer before installation, as LL Flooring recommends, is useful for helping the adhesive bond more effectively.
Simply Peel-and-Stick Each Plank
Once you have your plan in place, begin the installation. It’s helpful to position a plank before you remove the backing so that you can make sure it looks how you want it to. Next, enjoy the ease of peel-and-stick vinyl by peeling off the back to expose the adhesive and firmly sticking it to the floor.
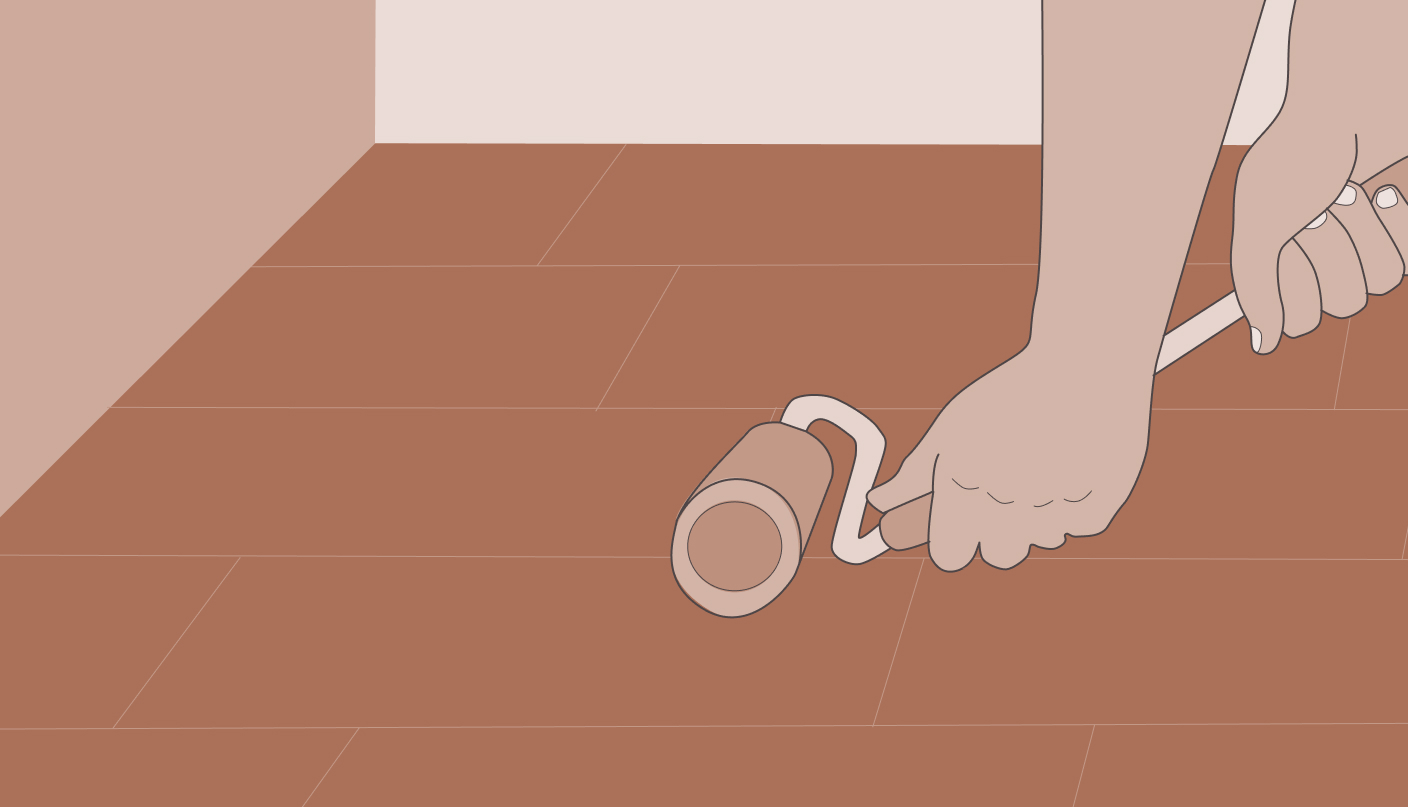
Many installers find it ideal to firmly run a clean, dry flooring roller over the planks to help add pressure for a firm, even installation.
Don’t leave any gaps between the planks. Get them as close together as possible without overlapping. And remember to stagger your planks for both the aesthetic appeal and to ensure your planks stay together to prevent lifting or gaps.
To cut your planks, simply score with a utility knife and snap. And remember that golden rule: measure twice, cut once!
Installation in Bathrooms
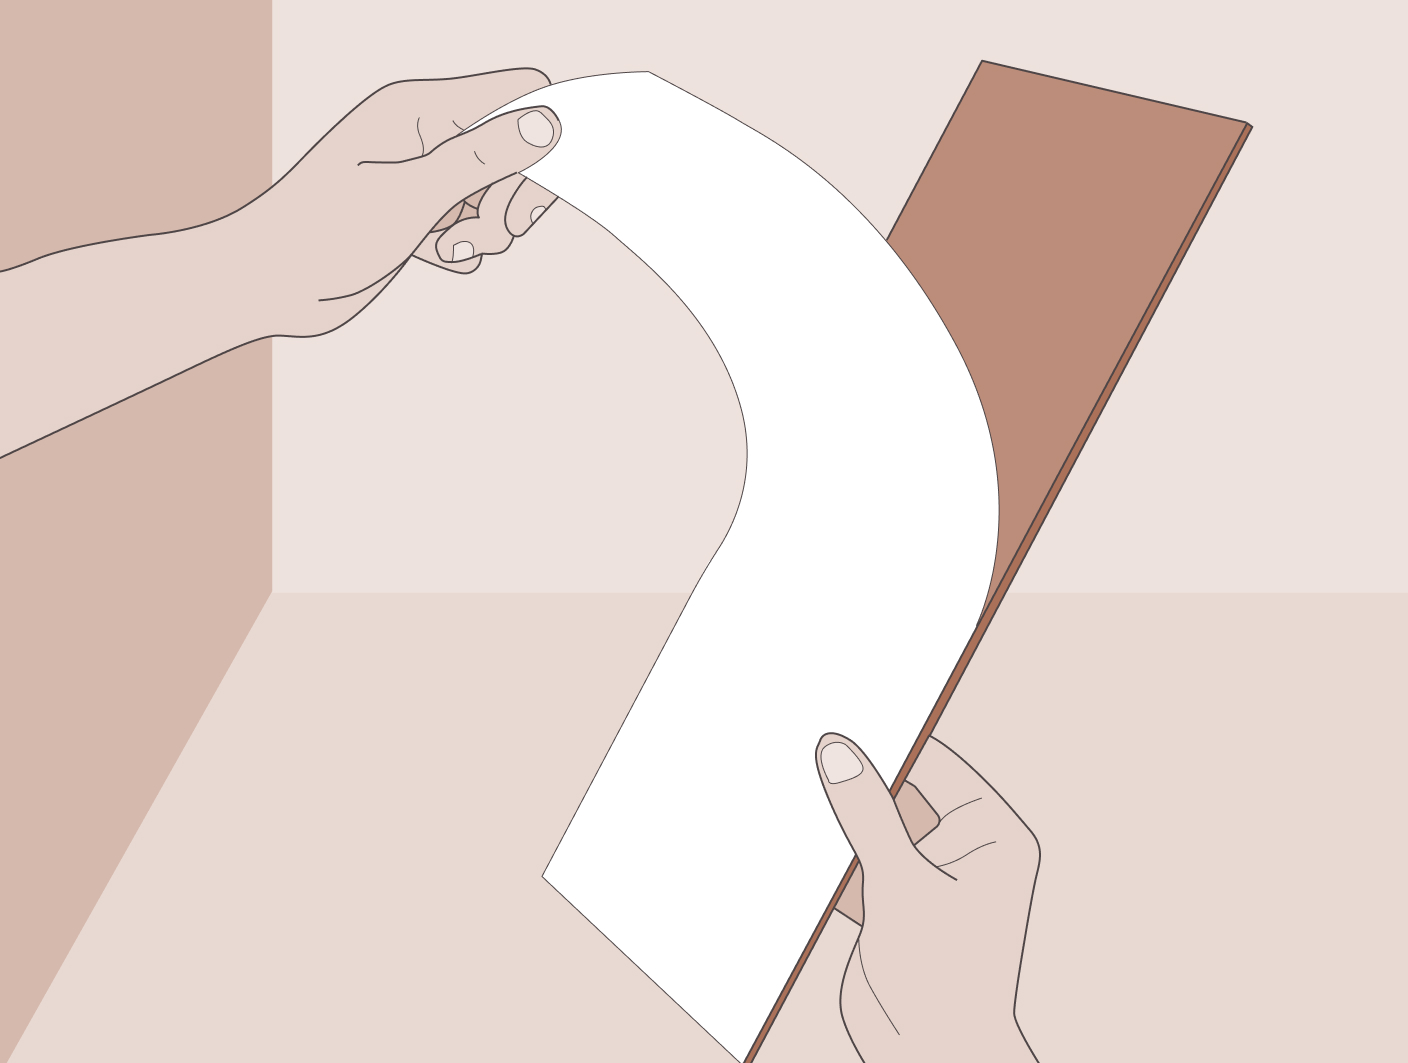
Installing flooring around toilets can be especially tricky, but with peel-and-stick vinyl, it's easy. You don't need to remove the toilet as you would with thicker flooring like tile. Instead, use tracing paper or cardboard to map the shape of the toilet base. Use small pieces to get a snug fit then tape them together to get the base shape. You can then use your template to smoothly and accurately shape your vinyl.
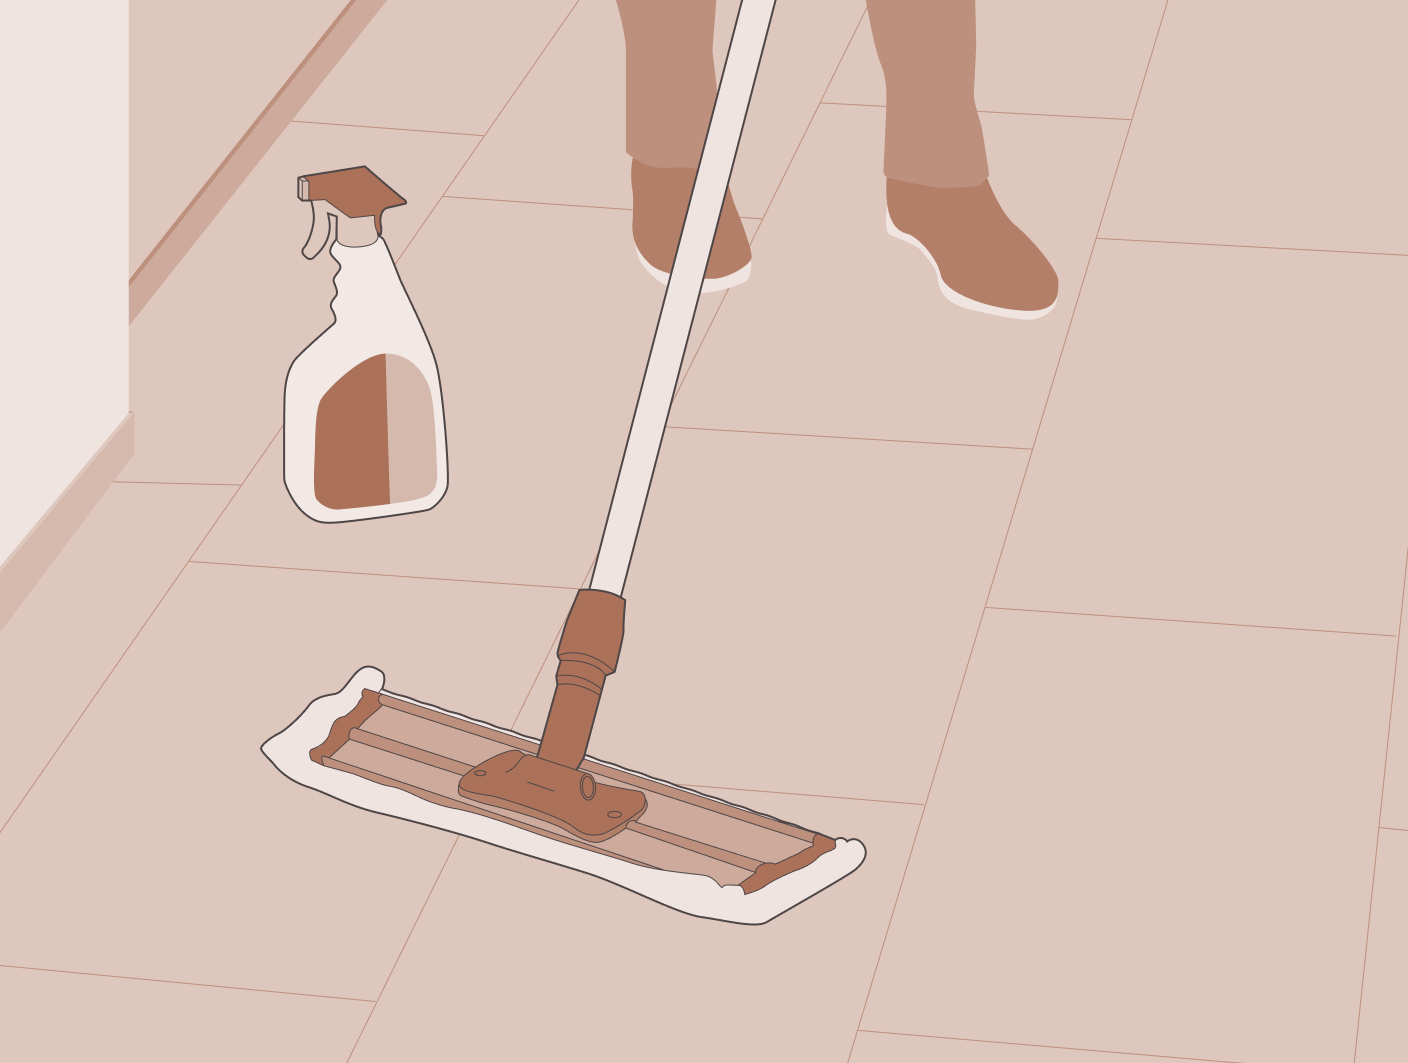
Care and Maintenance
After installation, you can start walking on your new flooring right away.
You'll enjoy how easy it is to care for peel-and-stick vinyl flooring. Avoid products with polish, wax, or oil as these can leave an unwanted residue behind, and never use coarse materials like steel wool as they'll scratch the surface. Instead, you can use a residential steam mop on a low setting. Although, we recommend that you always check your manufacturer's guidelines for the best care.
You can also use our Bellawood Floor Cleaner to keep your floors looking their best for years.
Shop this Article
Related Articles