
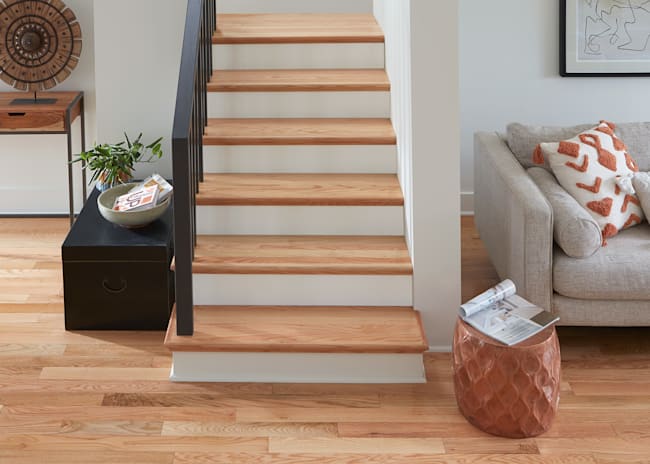

How to Pull Up Wood Flooring Without Damage
Knowing how to pull up wood flooring without damage is critical when preserving your hardwood. Find out how best to remove wood floors at LL Flooring.
Need to remove your hardwood flooring but don’t know where to begin? Pulling up hardwood floors—particularly nailed-down flooring—can seem daunting. It is labor intensive, but you can do it with the right tools and techniques. But what if you want to preserve the flooring to use, say, in another room? It’s just a matter of taking special care during the process so you can keep the flooring in good shape. These hardwood floor removal tips will help you get started.
How Was Your Hardwood Flooring Installed?
Basic removal will involve the same two things—cutting and prying. But depending on whether you’re dealing with a floor that’s nailed down, there will be slight differences in technique and the tools you need. With click installation—as with some engineered hardwood—the method is much simpler. Once the trim is gone, it’s just a matter of pulling it up with your hands.
Not sure how your floor was installed? Although nails, for the most part, will be covered because they’re driven through the unseen tongue of your floorboards, you might be able to find nails around the perimeter of your flooring. But don’t sweat if you’re not sure. Once you get started, it’ll be clear enough. Installers Tip: If you have floor vents, pull one up and look for evidence of a “glue down” application. Note the direction the tongues are pointing. This will point to the wall where to start pulling the planks up if “nailed down.”
Below are the tools for removing hardwood floors you’ll need for either case.
Tools and Materials to Remove Wood Floors
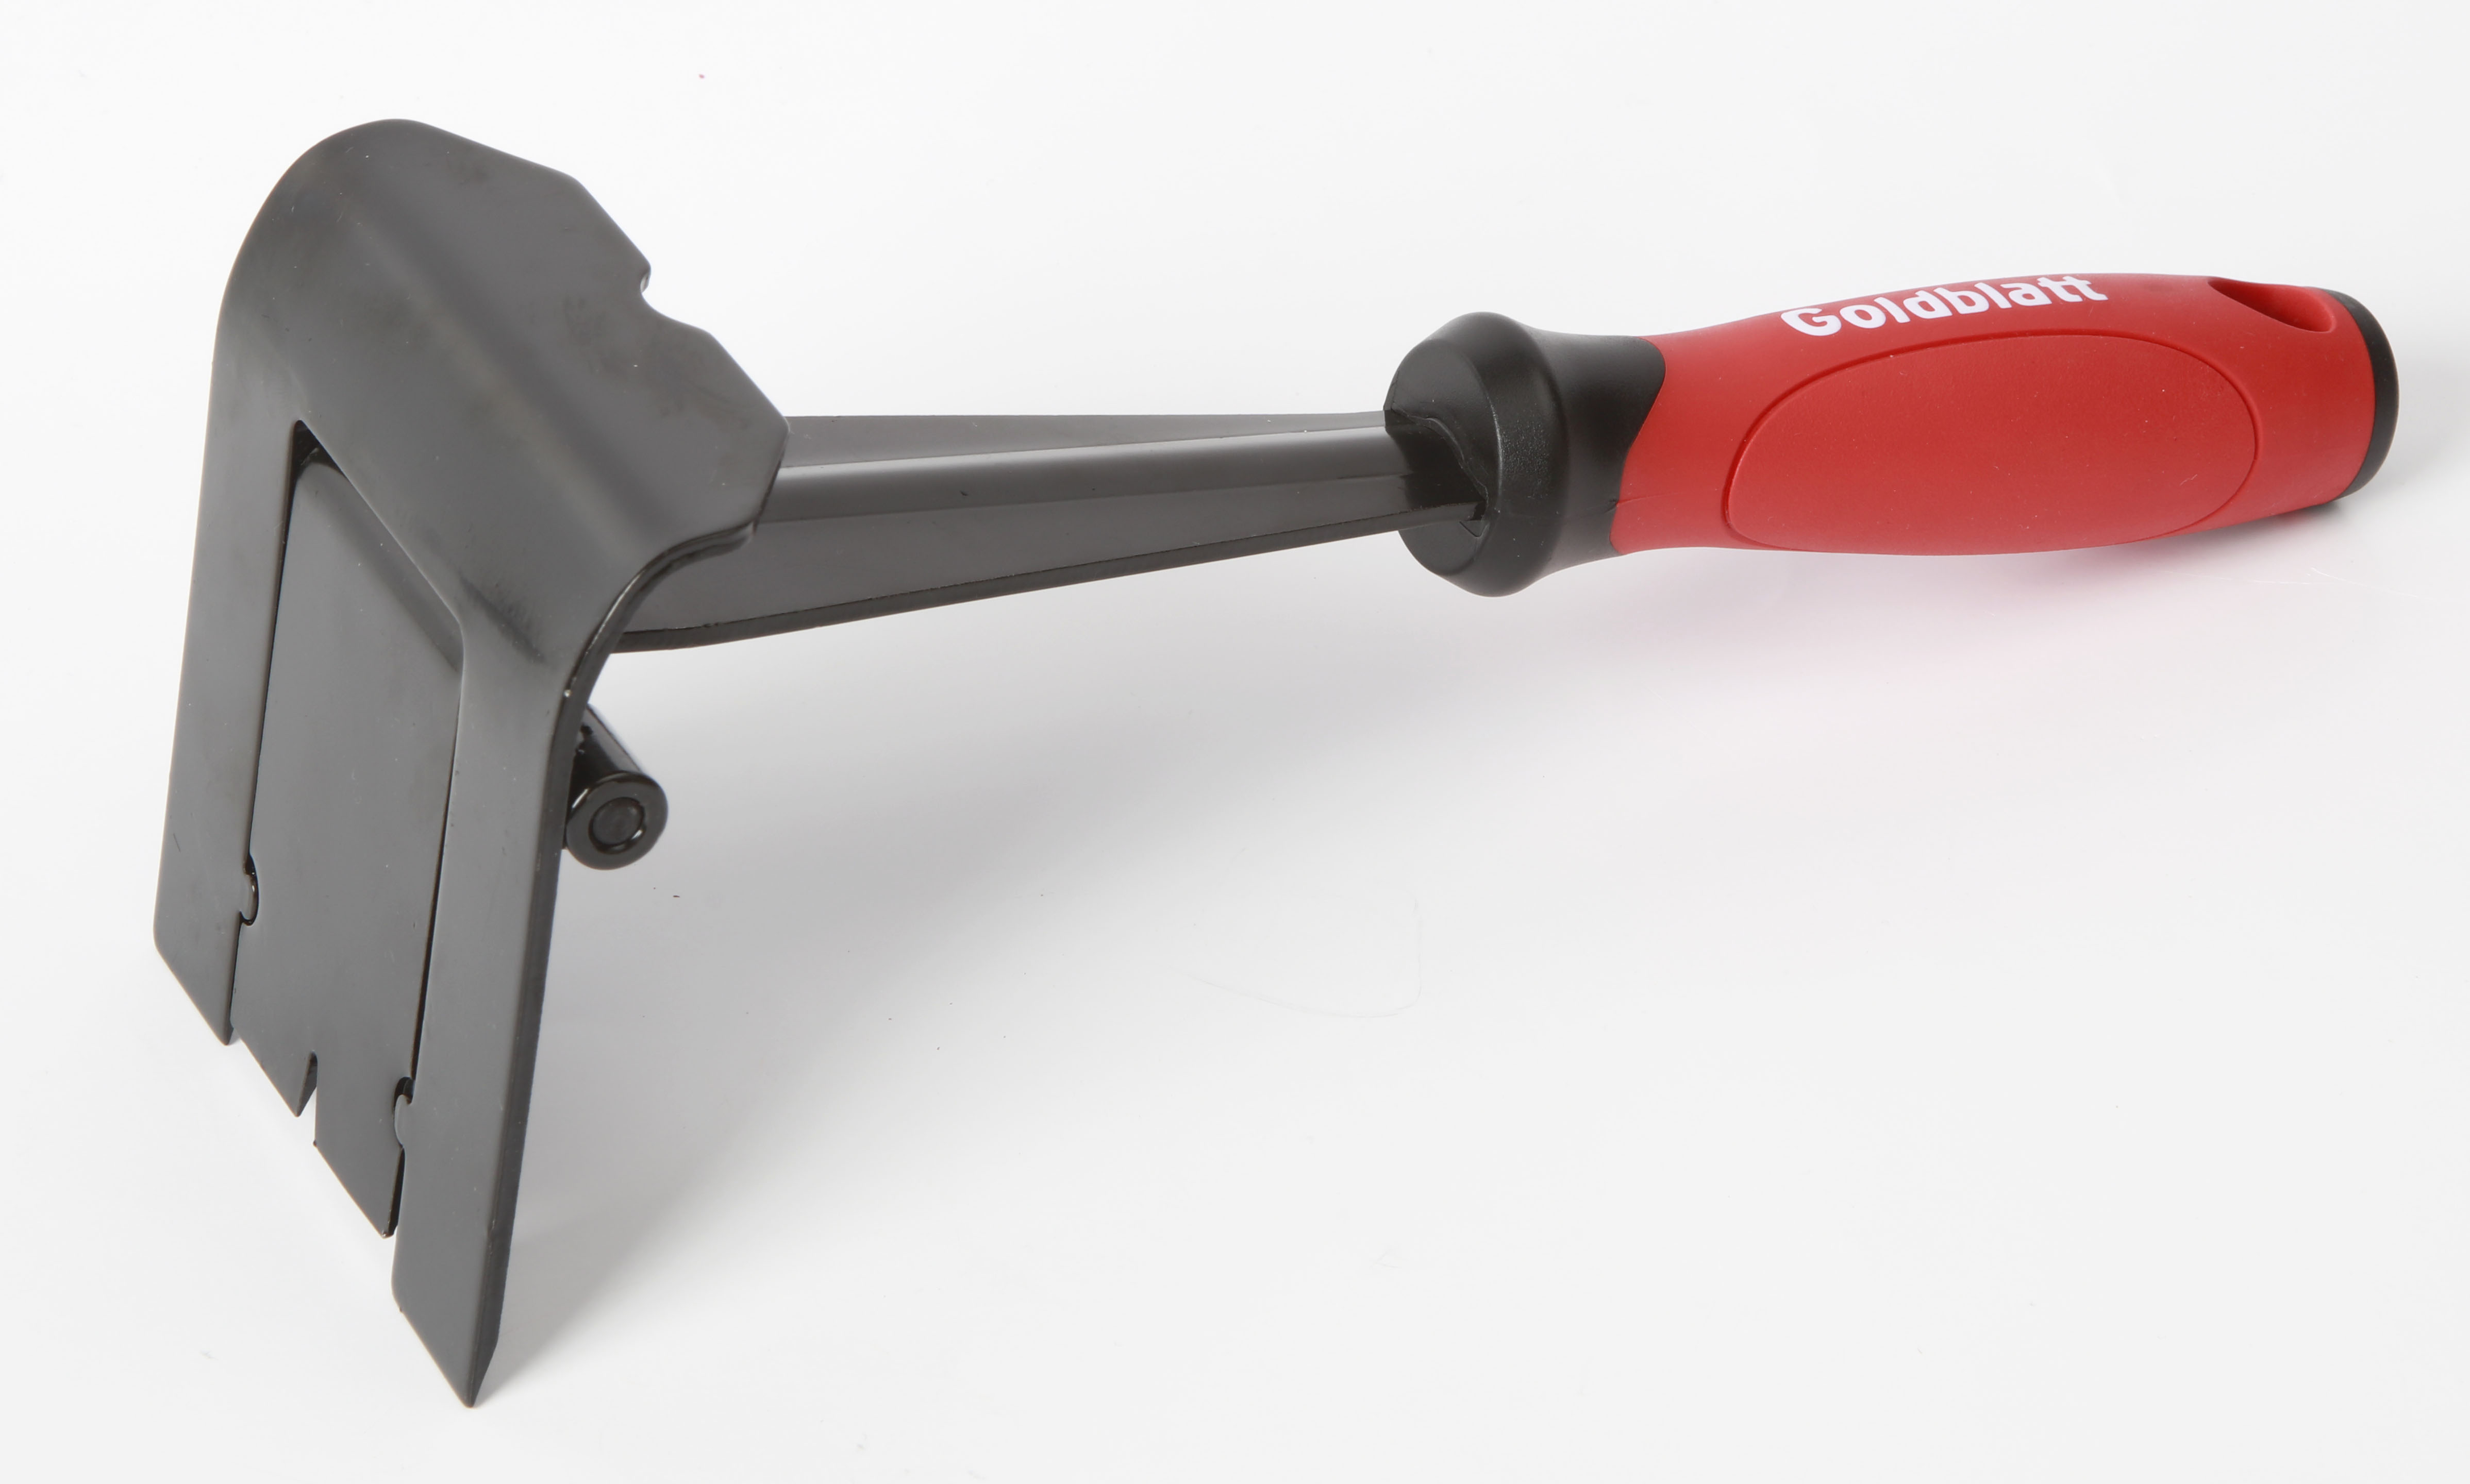
- Trim puller
- Circular saw
- Pry bar, crowbar, or chisel
- Hammer/mallet
- Claw hammer (for nail removal)
- Safety glasses
- Mask
- Gloves
- Knee pads
At LL Flooring, we offer the tools and materials you’ll need for both installing and removing your hardwood flooring.
How to Remove Hardwood Floor
Follow these general steps to remove your wood floor without damaging it.
Start With the Trim
First, use a trim puller or another pry tool to remove your baseboard and quarter-round molding. Work carefully but firmly, prying it away from the wall. Label the sections so you’ll know where to put them if you’re reusing them.
Cut Your Flooring
Even though there’s an expansion space between the edges of your flooring and the wall, prying from that area won’t work simply because the wall will get in the way. So, even if you want to preserve as much of your flooring as possible, you’ll have to sacrifice a board somewhere in the middle.
Use a circular saw, set it exactly to the depth of your flooring to avoid hitting your subflooring. Then cut a board or two lengthwise down the middle. This will help avoid hitting a nail.
In this video, flooring and installation expert Mark demonstrates setting depth of a Skilsaw blade to make cuts on a flooring plank without damaging the subfloor, or even the underlayment!
If you’re only taking up part of your flooring, use blue painter’s tape underneath your saw and tape off the area you want to preserve.
Pry up the Boards
From this point on, you’ll be prying up the boards. Avoid harsh yanking if you want to preserve them. It should become evident soon whether or not the boards are glued down. If they are, use a chisel or a hammer and a crowbar to work the board free. For nailed boards, position your pry bar or crowbar and hit it with a hammer or mallet to drive it underneath the board. Then, pry the board up.
Listen for any signs of strain or cracking for the rest of the flooring you plan to preserve. Also, be sure to position the pry tool at the nails to avoid splitting the board.
Remove Nails or Staples
When you’re done pulling up your flooring, it’s time to remove nails and staples from the boards. You can hammer the nails gently from the other side to expose the head, then pry them out with the claw part of your hammer. When prying, avoid positioning the hammer on the top surface of the board to avoid scratches—lean it along the side instead. You could use a flathead screwdriver to pop up staples, then grab them with pliers. Pliers might work without having to loosen the staples.
Clean Up
Remove all debris and underlayment if you plan to replace it.
What to Do With the Wood
Hardwood is a prized material, so if you’re not using it in another room, you can still do a lot with it. You could make tabletops, shelving, or even wainscoting for your wall!
Looking for more flooring tips? Browse our Flooring 101 for installation tips and guides, information on care and maintenance, and style inspiration.
Follow LL Style on Instagram & Pinterest
ALSO, do you learn about home improvement and design with fun and informative videos? Subscribe to the LL Flooring YouTube Channel to learn more, leave comments or ideas that helped you, and join the community!
In this video, general contractor and home improvement TV host Josh Temple explains flooring acclimation in full detail, with the goal of helping people understand its importance, and that there's a lot more to it than just 'three days'!
Shop this Article
Related Articles


