
How to Prepare Your Subfloors for New Flooring: Expert Tips from Contractor Josh Temple
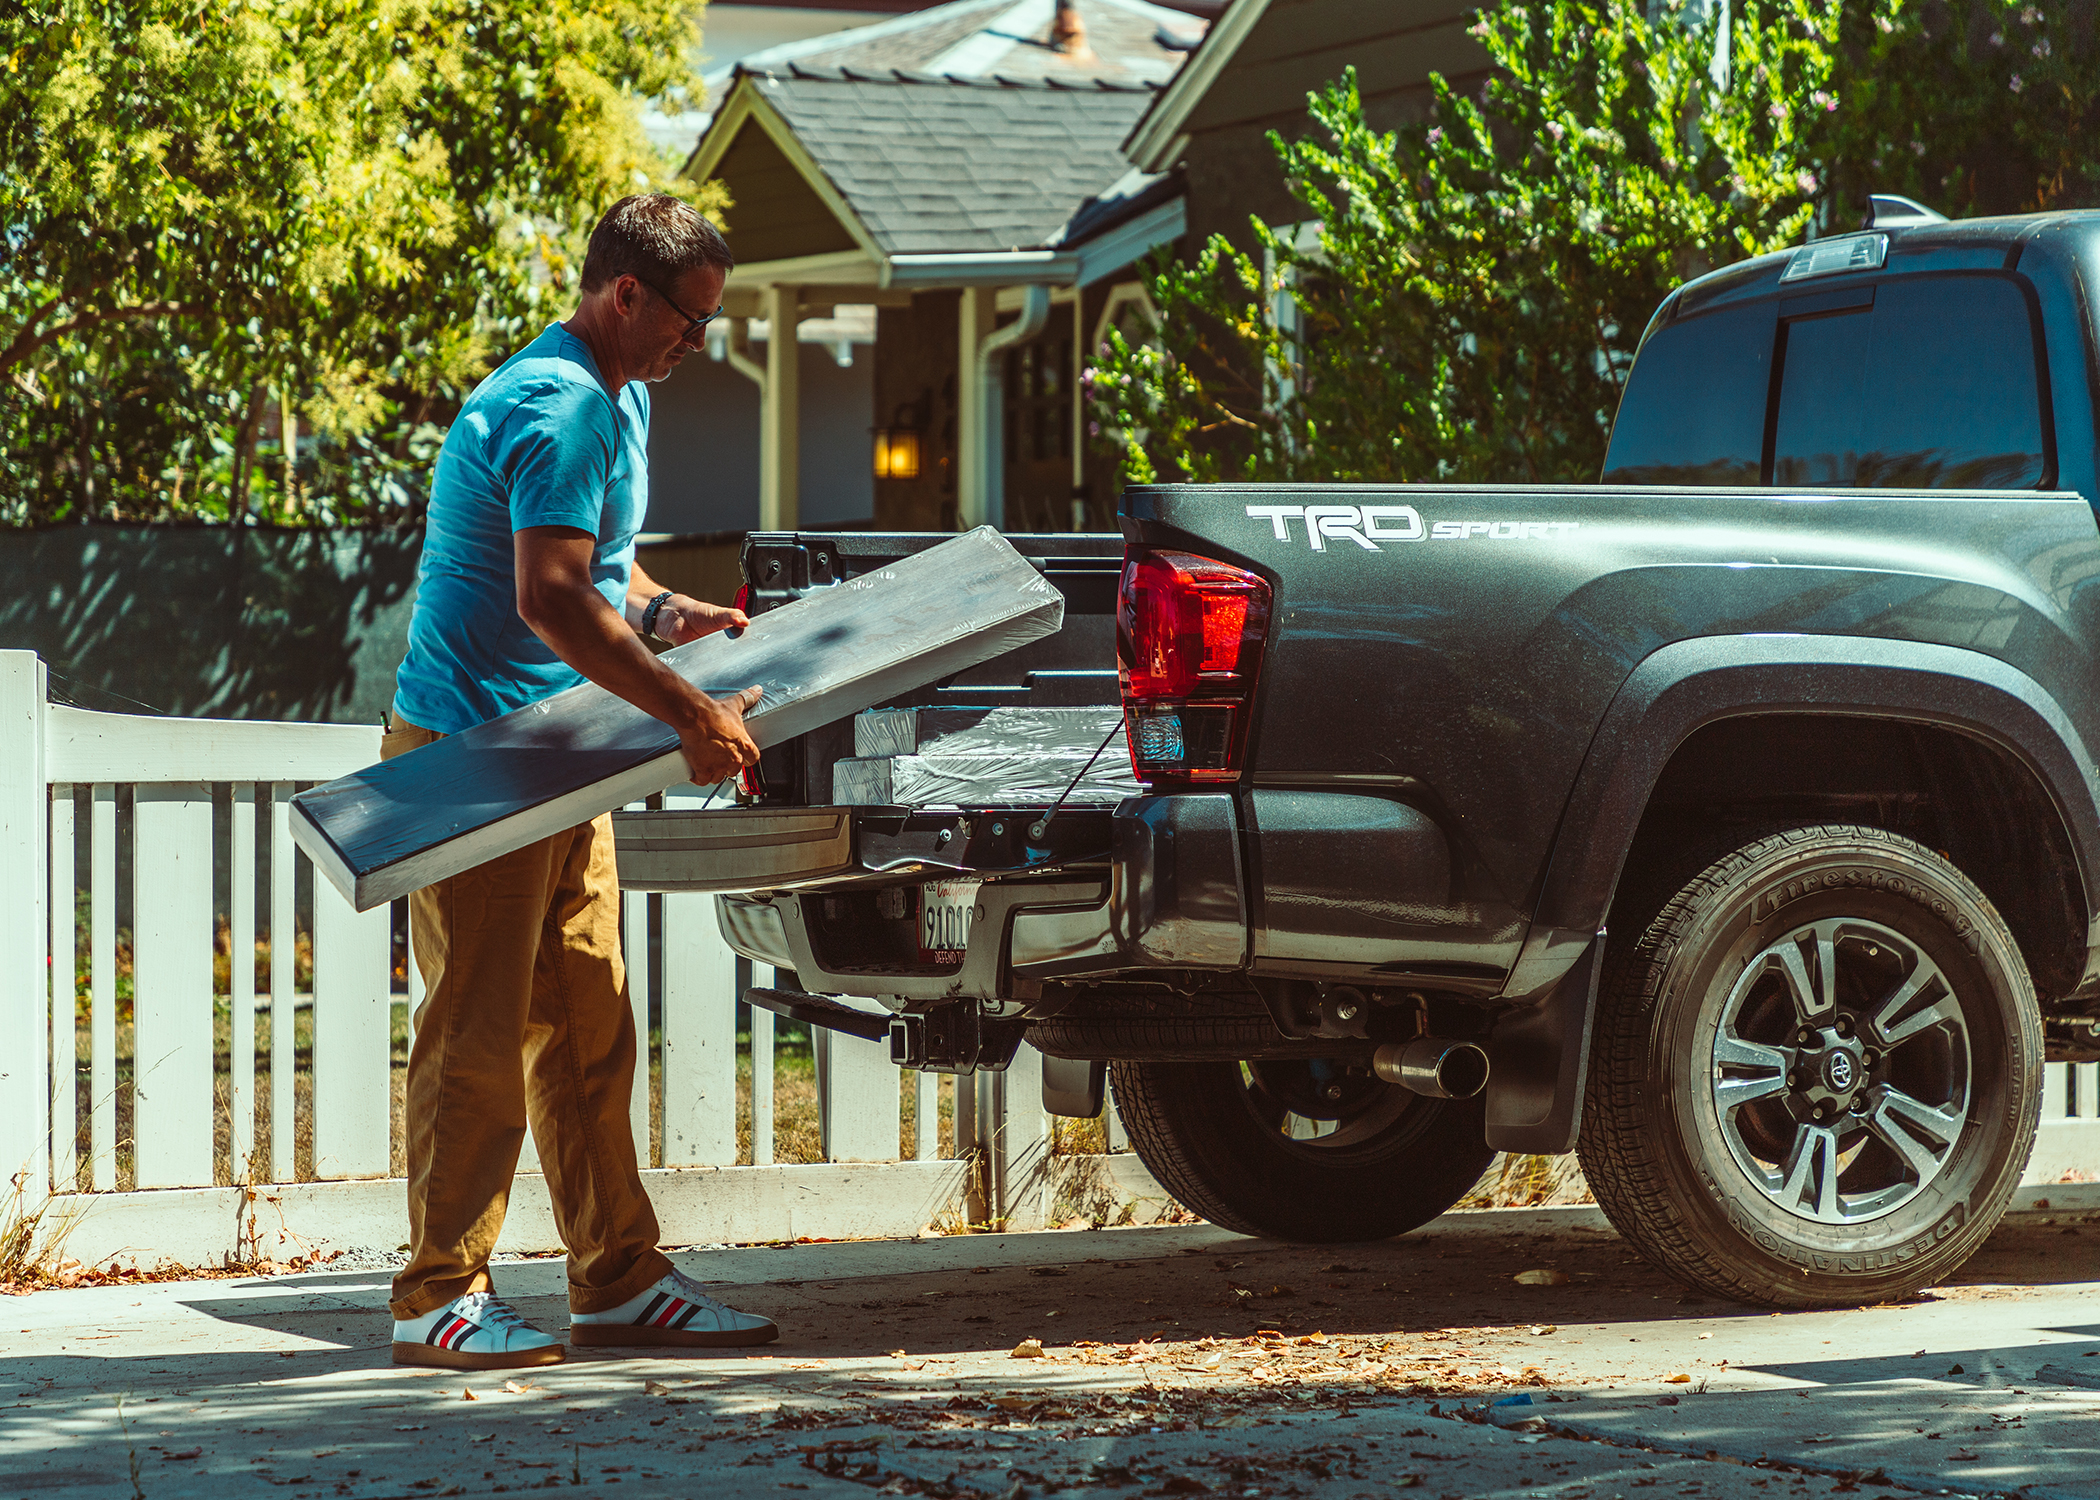
Right now, Josh is knee-deep in a complete remodel of a 97-year-old Los Angeles home, a task that includes a second-floor addition and, naturally, new flooring.
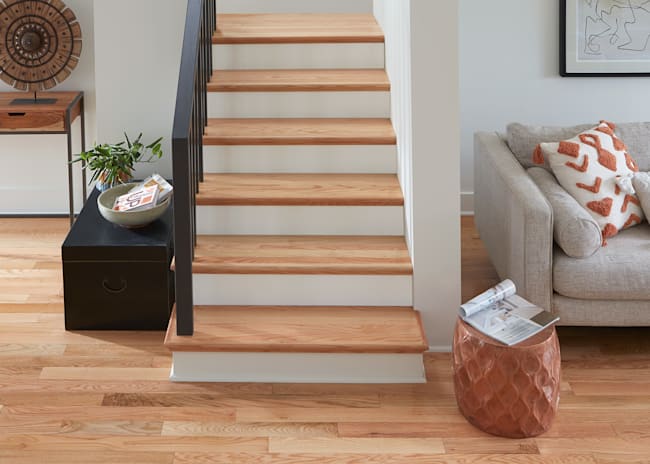
Los Angeles-based contractor Josh Temple has seen it all in the world of flooring installations, from stunning successes to disheartening flops. One crucial difference? The state of the sub-floor prior to the installation. In this article, Josh shares his valuable insights on prepping your subfloors for new flooring. Heeding his advice can set the stage for a successful installation that not only looks fantastic but also stands the test of time.
Right now, Josh is knee-deep in a complete remodel of a 97-year-old Los Angeles home, a task that includes a second-floor addition and, naturally, new flooring. But before the first plank of the new floor can be laid, he has to tackle the old subfloor, a sagging, dipping surface that could threaten the entire project...
Section 1: Understand Your Subfloor
Before you can even think about the allure of a gleaming new floor, there's the matter of the subfloor beneath. Whether you're working with a raised foundation (built above ground) or a concrete slab (poured on grade), understanding and addressing your subfloor's condition is vital.
What's the most critical aspect to consider? The plane of your subfloor. A house slightly out of level isn't necessarily a deal-breaker, especially if it's less than a quarter-inch per eight feet. However, a non-uniform plane can disrupt the joints of your boards, leading to long-term is-sues that will only worsen with foot traffic. In simple terms, you need your subfloor to be as flat and even as possible.
Section 2: Handling Wood Subfloors
If you have a raised foundation with a wood subfloor, watch for sagging, creaks, or squeaks. You can usually remedy sagging by reinforcing the framing underneath with new lumber or replacing rotted or damaged wood. The creaks and squeaks? Those are the result of wood flexing on a loose nail. All that's needed is a strategically placed screw to stop the flexing in its tracks.
If there is a low spot on your plywood subfloor, you may want to try the pro trick in this video to bring it to level, as it is extremely important to have a flat and level subfloor before installing your planks.
Section 3: Dealing with Concrete Slabs
Concrete slab subfloors present their own challenges, notably peaks and valleys. Valleys can be filled with self-leveling concrete or shimmed, while peaks can be ground down with a diamond blade wheel. You'll usually only encounter significant peaks around pipes protruding through the slab (such as electrical conduit, plumbing, or gas lines).
Most issues with concrete slabs can be tackled using an underlayment for your floor. Most underlayments compress to allow the flooring to span minor inconsistencies, keeping the floor closer to an even plane. Underlayment also provides floor cushioning to absorb impact. Plus, it's simply nicer to walk on.
Remember this golden rule for concrete slabs: always lay a moisture barrier first! You have several product options here, including traditional six-millimeter plastic and innovative materials like Roll-Cote™.
Conclusion: Laying the Groundwork for Success
If you want your new flooring to shine and perform at its fullest potential, the groundwork (quite literally) must be solid. So give your flooring—and yourself—the best chance to succeed by starting with a well-prepared subfloor. And remember, if you're unsure about any aspect of subfloor preparation, it's wise to seek professional assistance. Your new floors deserve the best start possible!
Follow LL Style on Instagram & Pinterest
ALSO, do you learn about home improvement and design with fun and informative videos? Subscribe to the LL Flooring YouTube Channel to learn more, leave comments or ideas that helped you, and join the community!
In this YouTube Short, LL flooring installation expert Mark shares decades of hands-on experience, and how he handled this plywood subfloor with a high spot, then carefully installed underlayment before laying the flooring.

Related Articles