

How to Install Angle-Angle Click Flooring
When installing your floor, you want to do it right. So today I’m going to show you how to install simple angle-angle click flooring, in this video.
It doesn’t matter whether you have a laminate, vinyl plank, or engineered hardwood click floor; as long as you have a fold down locking system, these instructions apply. Let’s get started.
Before you start, make sure you have the right underlayment, spacers, that you have let your floor acclimate, and that you understand the other flooring basics.
And remember, before you start any project always refer to the online installation guidelines for the product you’re installing.
(Note: For LL Flooring products, guides can be found by scrolling to Warranty & Guides on the product page of every flooring product. You can also email customercare@llflooring.com or call 1-844-455-3566 if you need help.)
All click flooring boards are designed with an interlocking, tongue-and-groove system. Looking closely at the long edges of a board, the groove edge has a deep slot in it and the tongue edge sticks out.
Some floors go in left-to-right, and some go in right-to-left, so read the instructions that came with your floor. The steps I’m giving you work either way, just reverse everything if your flooring is opposite of what you see.
To begin, lay in one whole row and check that your last board will be long enough after you cut it to fit. Anything longer than 8 inches is good. If it’s too short, cut the first board accordingly before you start.
Next, put the first board in place against the spacers, with the groove edge facing you, and the tongue edge up to the wall.
Then lay the second board next to it by holding it in place at an angle. Insert the end of the new board into the groove at the end of the first board and push it down to the floor, locking the boards together.
Keep this up to finish out the row. When you get to the last board, you’ll need to cut it to fit.
Make sure your first row is straight and in position.
To save on waste, you can take the piece you cut off from the end of the previous row to start your next row.
Just be sure your first and last boards in each row are at least 8 inches long, and you begin each row with a different length board than the one above it.
As you install the floor, try not to create H-patterns or stair-step patterns. It not only looks better, but it secures the structural integrity of your floor.
Flooring that has a tiled pattern looks best when balanced. Choose from these two options for placement and best appearance. Set your starting line at a different point to balance the installation and avoid pieces less than 2 inches long or with uneven cuts.
To install the second row, make sure the first row is up against the wall spacers. Hold the board up at an angle, and gently push the tongue into the groove on the edge of the first row.
When completely in, push the board to the floor and make sure everything feels solid. The two boards should line up perfectly. If they don’t, just lift the board and try again.
The second board in the second row is often the most difficult--and important--in the entire floor, so let’s be sure we get it right.
Using a full board, hold it at an angle and insert it into the end of the previous board, just like you did in the first row.
However, from now on, you want to off-set the two boards about ⅛ of an inch. Push the second board down to the floor, leaving the boards offset. Then, slide the second board into place so its long edge goes into the groove on the row above it. You’ll need to lift both boards up at a slight angle to get it to fit in.
Once in the groove, lower the planks to the floor and lock it all together. Check that your seams are smooth and move on to the next.
Install the rest of the floor the same way: angle and insert the board, offset by about ⅛ of an inch, lock the boards together. Then lift both boards at a slight angle, push the new board into the row above, and lower it all into place.
Remember, these boards don’t slide into place, so don’t use a hammer or anything else to tap them in. If a board doesn’t feel right, take it out all the way and try again. Do this until you reach the last row.
Most likely, the last row will need to be cut lengthwise, or “ripped,” to fit properly.
Do this for all of the boards in this row, and to install them as you go.
Congratulations! Your floor is complete. All that’s left to do is add your baseboards and trim, and use moldings and transition strips to cover areas where your floor transitions to other surfaces.
If you have more questions about flooring, installation, or the hundreds of ways to improve your home, talk with the experts at LL Flooring.
-LL Flooring Technical & Installation
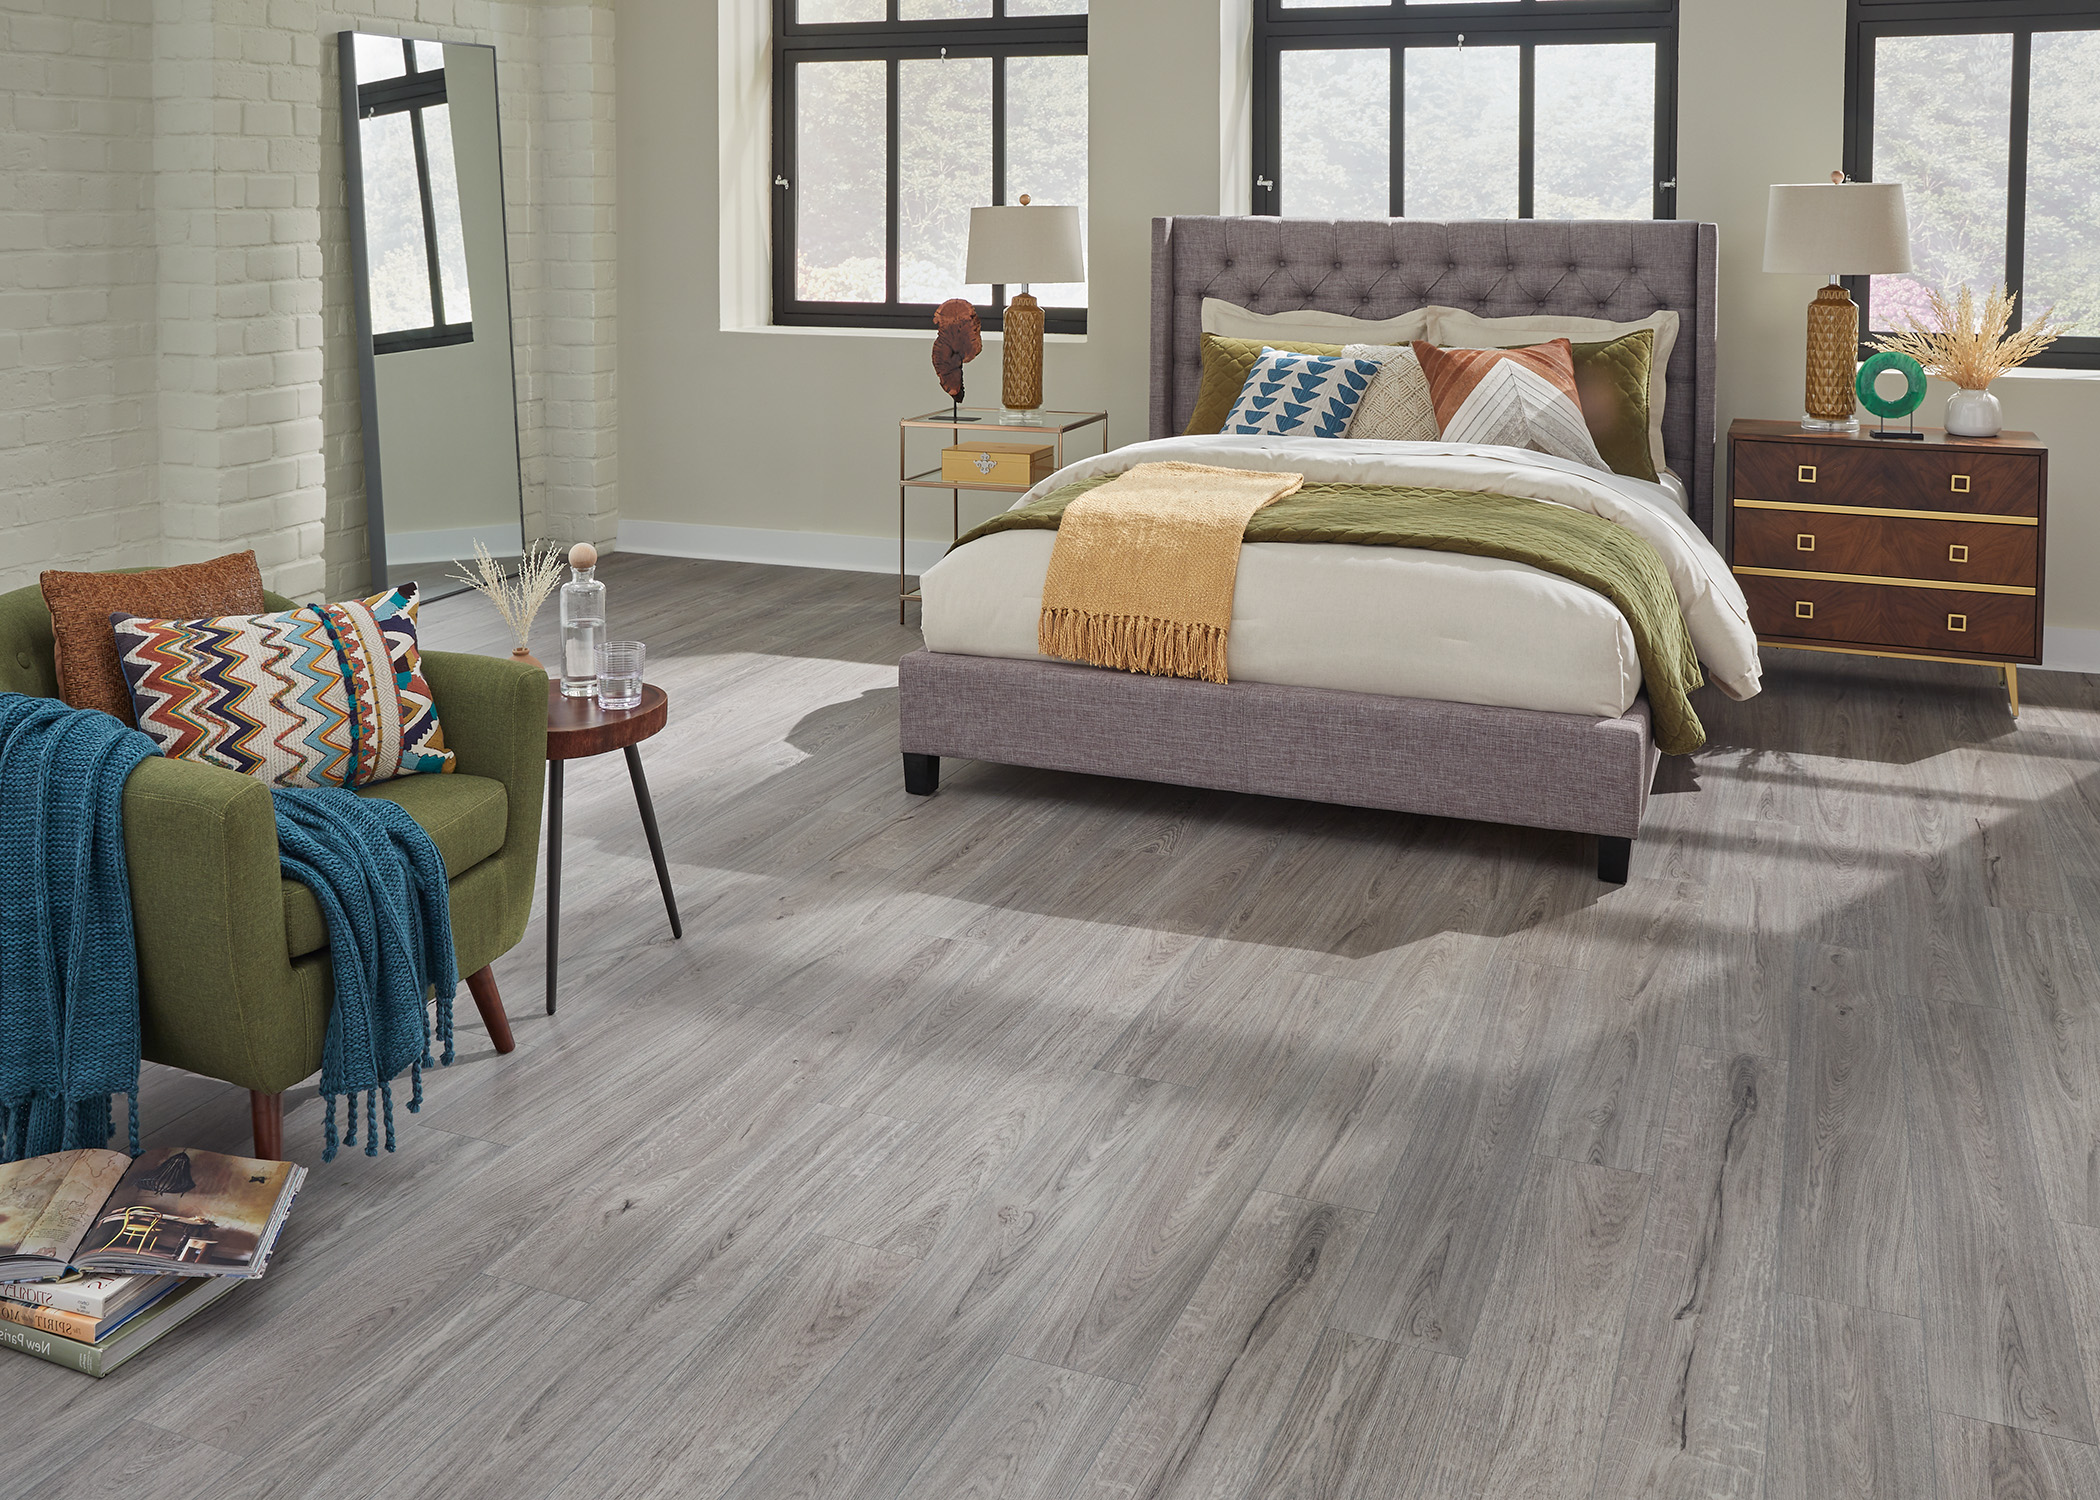
CoreLuxe XD Bavarian White Oak Waterproof Rigid Vinyl Plank Flooring is one of many angle-angle click floors available.
Browse more looks within the Harmony Collection, and order free samples from any product detail page.
Still trying to find the best new flooring for you? You can add 4 Free Samples to your cart and have them shipped right to you to compare for yourself, no credit card needed.
Find more ideas and inspiration with LL Style at:
https://www.llflooring.com/inspiration/s/
Learn about new flooring on our Flooring Basics page.
Be part of the community with LL Style on Instagram & Facebook @LLFlooringOfficial
Shop all new flooring at https://www.llflooring.com/
Find the flooring store closest to you: https://www.llflooring.com/stores/
Or reach out to a flooring expert to describe your project: https://www.llflooring.com/support/customer-care/