
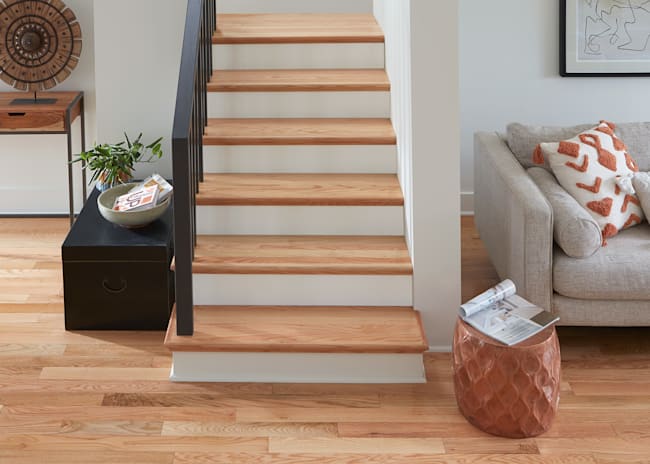

How to Install Hardwood Flooring Tips & Tricks the Pros Use
If you’re self-installing flooring, you might run into situations that require a little extra know-how. So today, I’m going to share a couple tips and tricks that just might come in handy.
While doing any type of construction, don’t forget to always wear safety glasses and other protective equipment.
And remember, before you start any project always refer to the instruction sheet that came with your specific product.
When installing a floor, one of the first things you’ll need to do is undercut all door jambs and casings to allow the flooring to slide under it.
A word of caution. Make sure you check for alarm or other low voltage wiring before you make any cuts.
To measure the proper undercut distance, lay a scrap piece of flooring and underlayment next to the baseboard, door, or jamb you intend to slide the flooring underneath. Mark that height.
Now just cut along that mark using a jamb saw. Clean out all the debris underneath, and slide your flooring underneath to test whether it fits. You should leave about 1/16 inch vertical clearance for the floor to move freely.
If a baseboard is still in place, extend the undercut about 1 inch beyond the door frame casing.
You can use this same process to install around wall-ends, pipes, or any other obstacles. The only catch there is you need to leave adequate expansion room for your floor. Once the floor’s installed, you’ll cover any expansion gaps with molding to create smooth, seamless transitions.
While laying your first row of floorboards, you probably need to cut the last board to fit.
To get an accurate measurement every time, flip the plank lengthwise, end-to-end. Slide it up to the spacer on the wall and mark the back.
Cut the plank at the mark, being sure to cut from the top side down to avoid splintering.
Flip the plank back over and install it as normal.
Most likely, the last row of any installation will need to be cut lengthwise, or “ripped” to fit properly. Here’s a trick you can use to measure the right width.
Lay a plank on top of the last full row in place. Then lay another plank on top of that one, with the tongue touching the spacer.
Use the top plank as a straight-edge guide, and mark a line lengthwise on the bottom plank. Then cut the marked plank on that line.
Do this with every board on the last row, and you’ll have a perfect fit.
If you have more questions about flooring, installation, or the hundreds of ways to improve your home, check with the experts at LL Flooring.