
Vinyl Multi-Trim Instructions
MultiTrim - All Moldings Are 94" Long
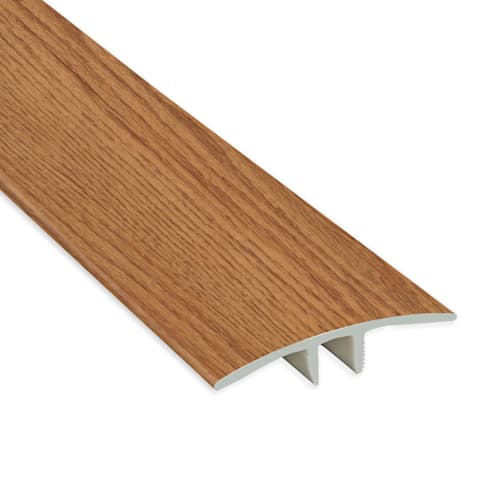
Functions as a T-Molding, End-Cap and Reducer
Surface Material: High Wear Resistant
Aluminum Oxide Laminate
Core Material: HDF
NOTE: Multi Trim does not work on radiant heat floors.
Multi Trim Applications
- Vinyl To Vinyl
- Vinyl To 3/4 Inch
- Vinyl To Laminate
- Vinyl To Carpet
- Laminate To Laminate
- Laminate To 3/4 Inch
- Laminate To Ceramic Tile
- Laminate To Carpet
- Laminate To Sliding Door
Multi Trim
Step 1
Each molding comes with 1 dowel tree, containing 8 dowels. Slide dowel tree out from molding. Carefully cut or break dowels off of tree. Slide one dowel into molding groove and position in center of molding. Insert additional dowels from both ends. Space dowels 11.5"apart and 1.5" from ends.
Step 2
Install the flooring planks, including the underlayment, by leaving a V inch (25mm) gap for the installation of the molding
Step 3
Draw a line on the flooring for the placement of the holes. Using a 1/4" drill bit, pre-drill holes into the flooring 2" deep.
Be sure to use the same measurements as the dowels, keeping the holes 11.5" apart. With a pencil, mark on the floor where each dowel is located (You will need these for Step 7). Pencil marks should be about 1" from the pre-drilled holes.
NOTE: Be sure to vacuum pre-drilled holes.
Step 4
Carefully line up dowels with pre-drilled holes. Make adjustments to the dowel positions on the molding if needed.
NOTE: Do not try to push the entire molding in all at once by just pressing it in from top! This will bend the dowels.
Step 5
Using both hands, start at one end and gently push molding 1/4"down. Make sure dowel is straight and that you apply pressure directly over dowel. The best position is to hold dowel with pointer and middle fingers and push down with thumbs. Moving down the molding again, push the dowels in the floor 1/4" at a time. It should take several passes to push the molding all the way down.
Step 6
Once molding is about a finger's width from the floor (about 3/8" or 9.5 mm), insert the tip of a glue gun under 1 edge of the molding. Apply Liquid Nails or any polyurethane constructive adhesive along 1 side of the flooring.
NOTE: Make sure you apply adhesive to ONLY 1 side of the molding and that all surfaces that the adhesive touches is dust and debris free.
Step 7
When finished applying adhesive, start again at the beginning of the molding and push dowels all the way in until molding is secure. Once molding is in place, use a rubber mallet to tap on the top of each dowel. Use the pencil marks to reference where each dowel is located.