


Floating Floor Installation Tips
Take your home remodel to the next level with floating floors. Check out LL Flooring's vast collection of DIY support to help you get the flooring you want.
Your Guide to Installing Floating Floors
What Is a Floating Floor?
A floating floor is actually not a type of flooring, but a method of installation. With this technique, the planks are pieced together like a puzzle using a locking mechanism or edge glue technique that does not fix the flooring down to the subfloor. When combined with gravity and friction, this assembly keeps the floor stable, but able to expand and contract—especially when placed over a properly prepared substrate.
What Types of Flooring Can Be Used to Create a Floating Floor?
The relative ease of installation makes floating flooring a popular option. You'll find it across many categories, especially engineered hardwood, laminate, and luxury vinyl plank flooring.
What Are the Pros and Cons of Installing a Floating Floor?
A huge pro to a floating floor is its DIY-friendliness. With this technique, you can lay your flooring without nails and adhesives. This makes it just as easy to remove as it is to install. So if you need to repair a few planks, you can use the easy-to-follow method to undo the click-together planks at the center or at the edges of your floor (always check your products install guide for the correct technique). Or if you decide you want to change your flooring altogether, it's quite simple to pick up and remove the planks. Even though floating floors are simple to install, it's essential to prepare your subfloor so it's clean, flat, and dry. We also recommend adding underlayment to help your floor feel solid, and to boost its sound insulation, thermal properties, and comfort underfoot. These steps will help make sure your floating floor does not sound hollow or have areas of sponginess.
How to Install a Floating Floor
Preparation:
The most important part of installing a floating floor is preparing for your work. You want your space to look great, so it's worth taking the time to plan thoroughly. Really think about your new flooring and how it will work with your room—think about your focal points and whether your flooring will run into multiple rooms. You might want to plan a new furniture layout, or take photos of your existing one to help you recreate it once the installation is complete. Measure everything carefully to avoid making thin or inaccurate cuts, and use our tools checklist to make sure you have everything you need before you start work. For larger projects, we recommend having your product delivered. This could save you from having to make multiple trips (and will certainly save you a lot of lifting!). Why not check out the delivery services that LL Flooring has to offer?Measurements:
When measuring for how much flooring you need, remember to add a 5% cutting allowance, and an extra 5% if you’re going to be installing on a diagonal. These percentages may be higher for smaller projects or larger format flooring. Make sure you allow enough underlayment. Measure for new baseboards and other areas that require a trim—if two or more floors of different heights will meet, you'll need to install transitions. You may need to install T-moldings at doorways or openings depending on the type, length, and width of your flooring.Tools:
Having the right tools ready will make for an easier project: A cutter can help save you time and minimize cleanup, but check whether cutters are recommended for your particular flooring choice. Tape measure Pencil/marker Chalk line 6' level Framing square/metal straight edge Screed Utility knife (blades) Miter saw Table saw 60 tooth carbide tip saw blades Jamb saw Drill Drill bit set Hammer Flat pry bar Broom Eye protection Ear protection Knee pads Niosh dust mask Gloves Hygrometer or moisture meter Color putty Touchup markers Speed square Vacuum Grinder Tapping block Safety Protection Firstly, protect yourself—always wear gloves, eye protection, a mask, and if necessary ear protection throughout the removal and preparation process. You'll likely also want to lay sheeting to protect your household surfaces from dust.Removing Your Old Flooring:
You'll need to remove your existing flooring, unless your new flooring has manufacturer approval for installation over existing flooring. If you're removing carpet we'd advise protecting your door frame, as the backing on carpet can be very rough and damaging to surfaces. You can cut carpet into strips for easy handling. A pro tip is to use some of the cut carpet to wrap the tack strip in—that will help you avoid getting hurt by the sharp spikes. Remove any existing baseboard or quarter round. To do so, cut along the top of the baseboard or quarter round with a sharp utility knife. Cut through any caulk or paint to allow separation without damaging the paint. When it comes to installing your new baseboard, we'd recommend choosing a taller one to cover the paint line left from removal.Undercut the door jambs—try using a jamb saw for the cleanest line. An easy way to help ensure your cuts are accurate is to use an off-cut of the product you are installing, plus an extra 1/16th inch shim. Be sure to check for alarm wires and avoid cutting through them. You should also check your door clearances if you're moving to a thicker floor, as you may then need to trim your doors. In some cases, temporarily removing your doors altogether could make the whole installation process easier.
Preparing Your Subfloor:
Be sure to pay special attention to your subfloor because if it's not properly prepared, any imperfections could be reflected in your finished flooring. Your subfloor should be clean and flat. We recommend installing an underlayment to help even out any remaining small imperfections. Some flooring planks come with an attached underlayment pad, but you should always take advantage of the extra benefits a premium underlayment will give. Subfloors must be flat within 1/8 inch over 6 feet long and 3/16 inch over a 10 feet span—You can use a long, straight edge 6 feet long or more to check your subfloor for flatness. Make sure your subfloor is flat—you can generally use 15-30 lb. roofing felt to fill in any low spots. If your subfloor is wood: Check for squeaks and screw down any loose sections. Sand or plane high spots and fill low spots with a suitable patch. Never apply poly or fully seal Homelux over wood subfloors. If your subfloor is concrete: Grind down any high spots, and fill in low spots with an appropriate cement-based patch or self-leveler and allow to cure fully. If you're installing over concrete, a moisture barrier such as a 6 mil poly or Dreamhome underlayment is a must.
Other Considerations
It's worth taking the time to acclimate your new flooring planks before installing them. For example, it could take 24 to 48 hours or more for engineered wood to adjust to the environmental conditions of your space, but it's worth it to minimize the risk of your flooring buckling, cupping, warping, or gapping down the line. This flooring should never be installed under kitchen cabinets or other fixed units. Remember, it's a floating floor—it needs to be free to expand and contract.
The Installation Itself
Make sure to check your flooring's installation guidelines to determine the type of locking mechanism that it uses, or techniques for edge glue float, and for any instructions specific to the type of flooring. For a successful installation, we recommend using spacers to give your planks the expansion gap they'll need. If you're installing engineered wood or wood-look flooring, we recommend mixing your planks out of multiple boxes and opting for a randomized layout to create a natural and authentic look. If you're installing baseboard or quarter round, using an 18-gauge pneumatic finish nailer and a miter saw will make it easier. Walls are not always perfectly square, so check the angles of your cuts to ensure they fit. You may want to consider scribe cutting inside corners. For a clean finish, caulk around the top of your baseboard or trim. You can mask nail holes and corners with matching colored putty, or fill them in and paint. Carefully cut and install any transitions, and re-hang your doors if you removed them for ease of installation. We recommend installing felt pads on your furniture before you move it back into place—they'll help protect your beautiful new flooring.
How to Maintain Your Floating Floor
To clean and maintain your floating floor, just follow the guidance for whatever type of flooring you have. Take a look at our cleaning products specifically tailored to each flooring type and formulated to keep them looking and performing their best.
Make Your Dream Space Come to Life
At LL Flooring, your project is our passion. We have a vast collection of flooring products plus resources to help advise you on different flooring products, installation methods, maintenance tips, and more. We offer comprehensive support for DIY-ers as well as professional installation services. We have what it takes to help you complete a superior installation, whether that's a floating floor or something else entirely. Whatever your flooring needs, let LL Flooring help you make your dream space a reality.
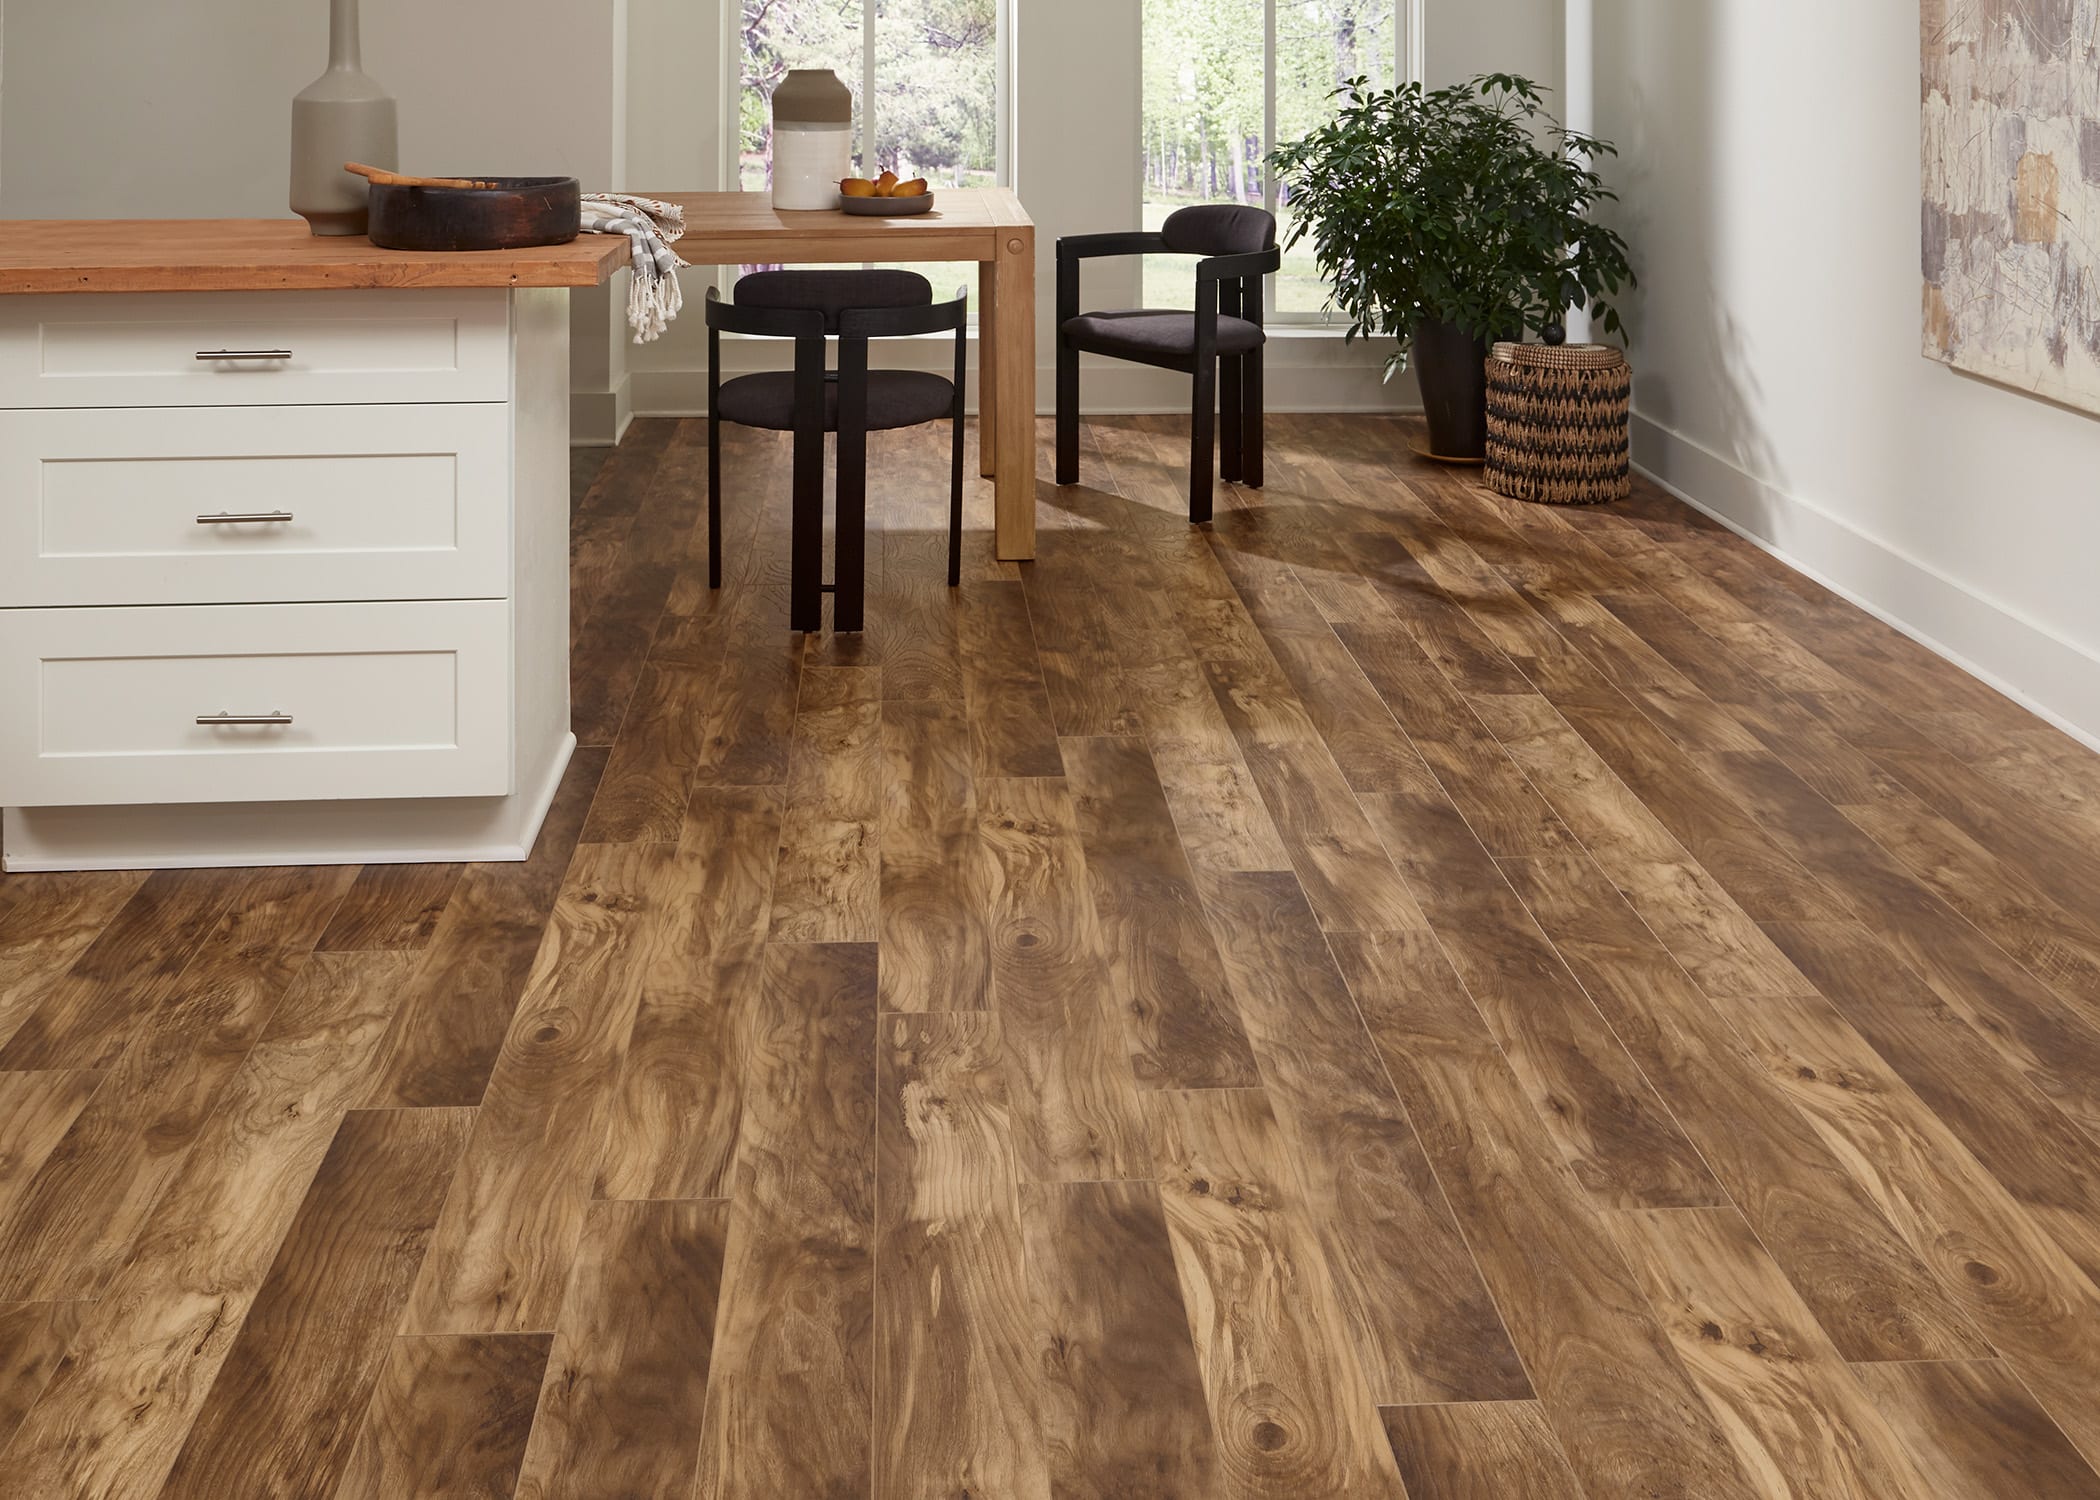
12mm American Hackberry w/ pad Waterproof Laminate Flooring 6.06 in. Wide x 50.6 in. Length