
Vinyl Plank Flooring Installation Mistakes | How To Avoid Common Problems
8 Common Mistakes When Installing Vinyl Plank Flooring—and How to Avoid Them
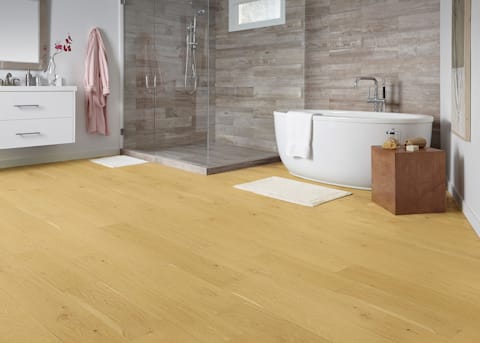
When you want to add the look of stone or wood flooring to your home at a more affordable price point, vinyl flooring is an ideal option. This waterproof, wear-resistant flooring is suitable for every room in the home, from the basement to the bathrooms. Plus, installation is a DIY-friendly task, with click-lock, glue-down, and peel-and-stick options available. Before you begin your installation, read on to learn these common mistakes when installing vinyl plank flooring—and how to avoid them.
1. Having an Uneven Subfloor
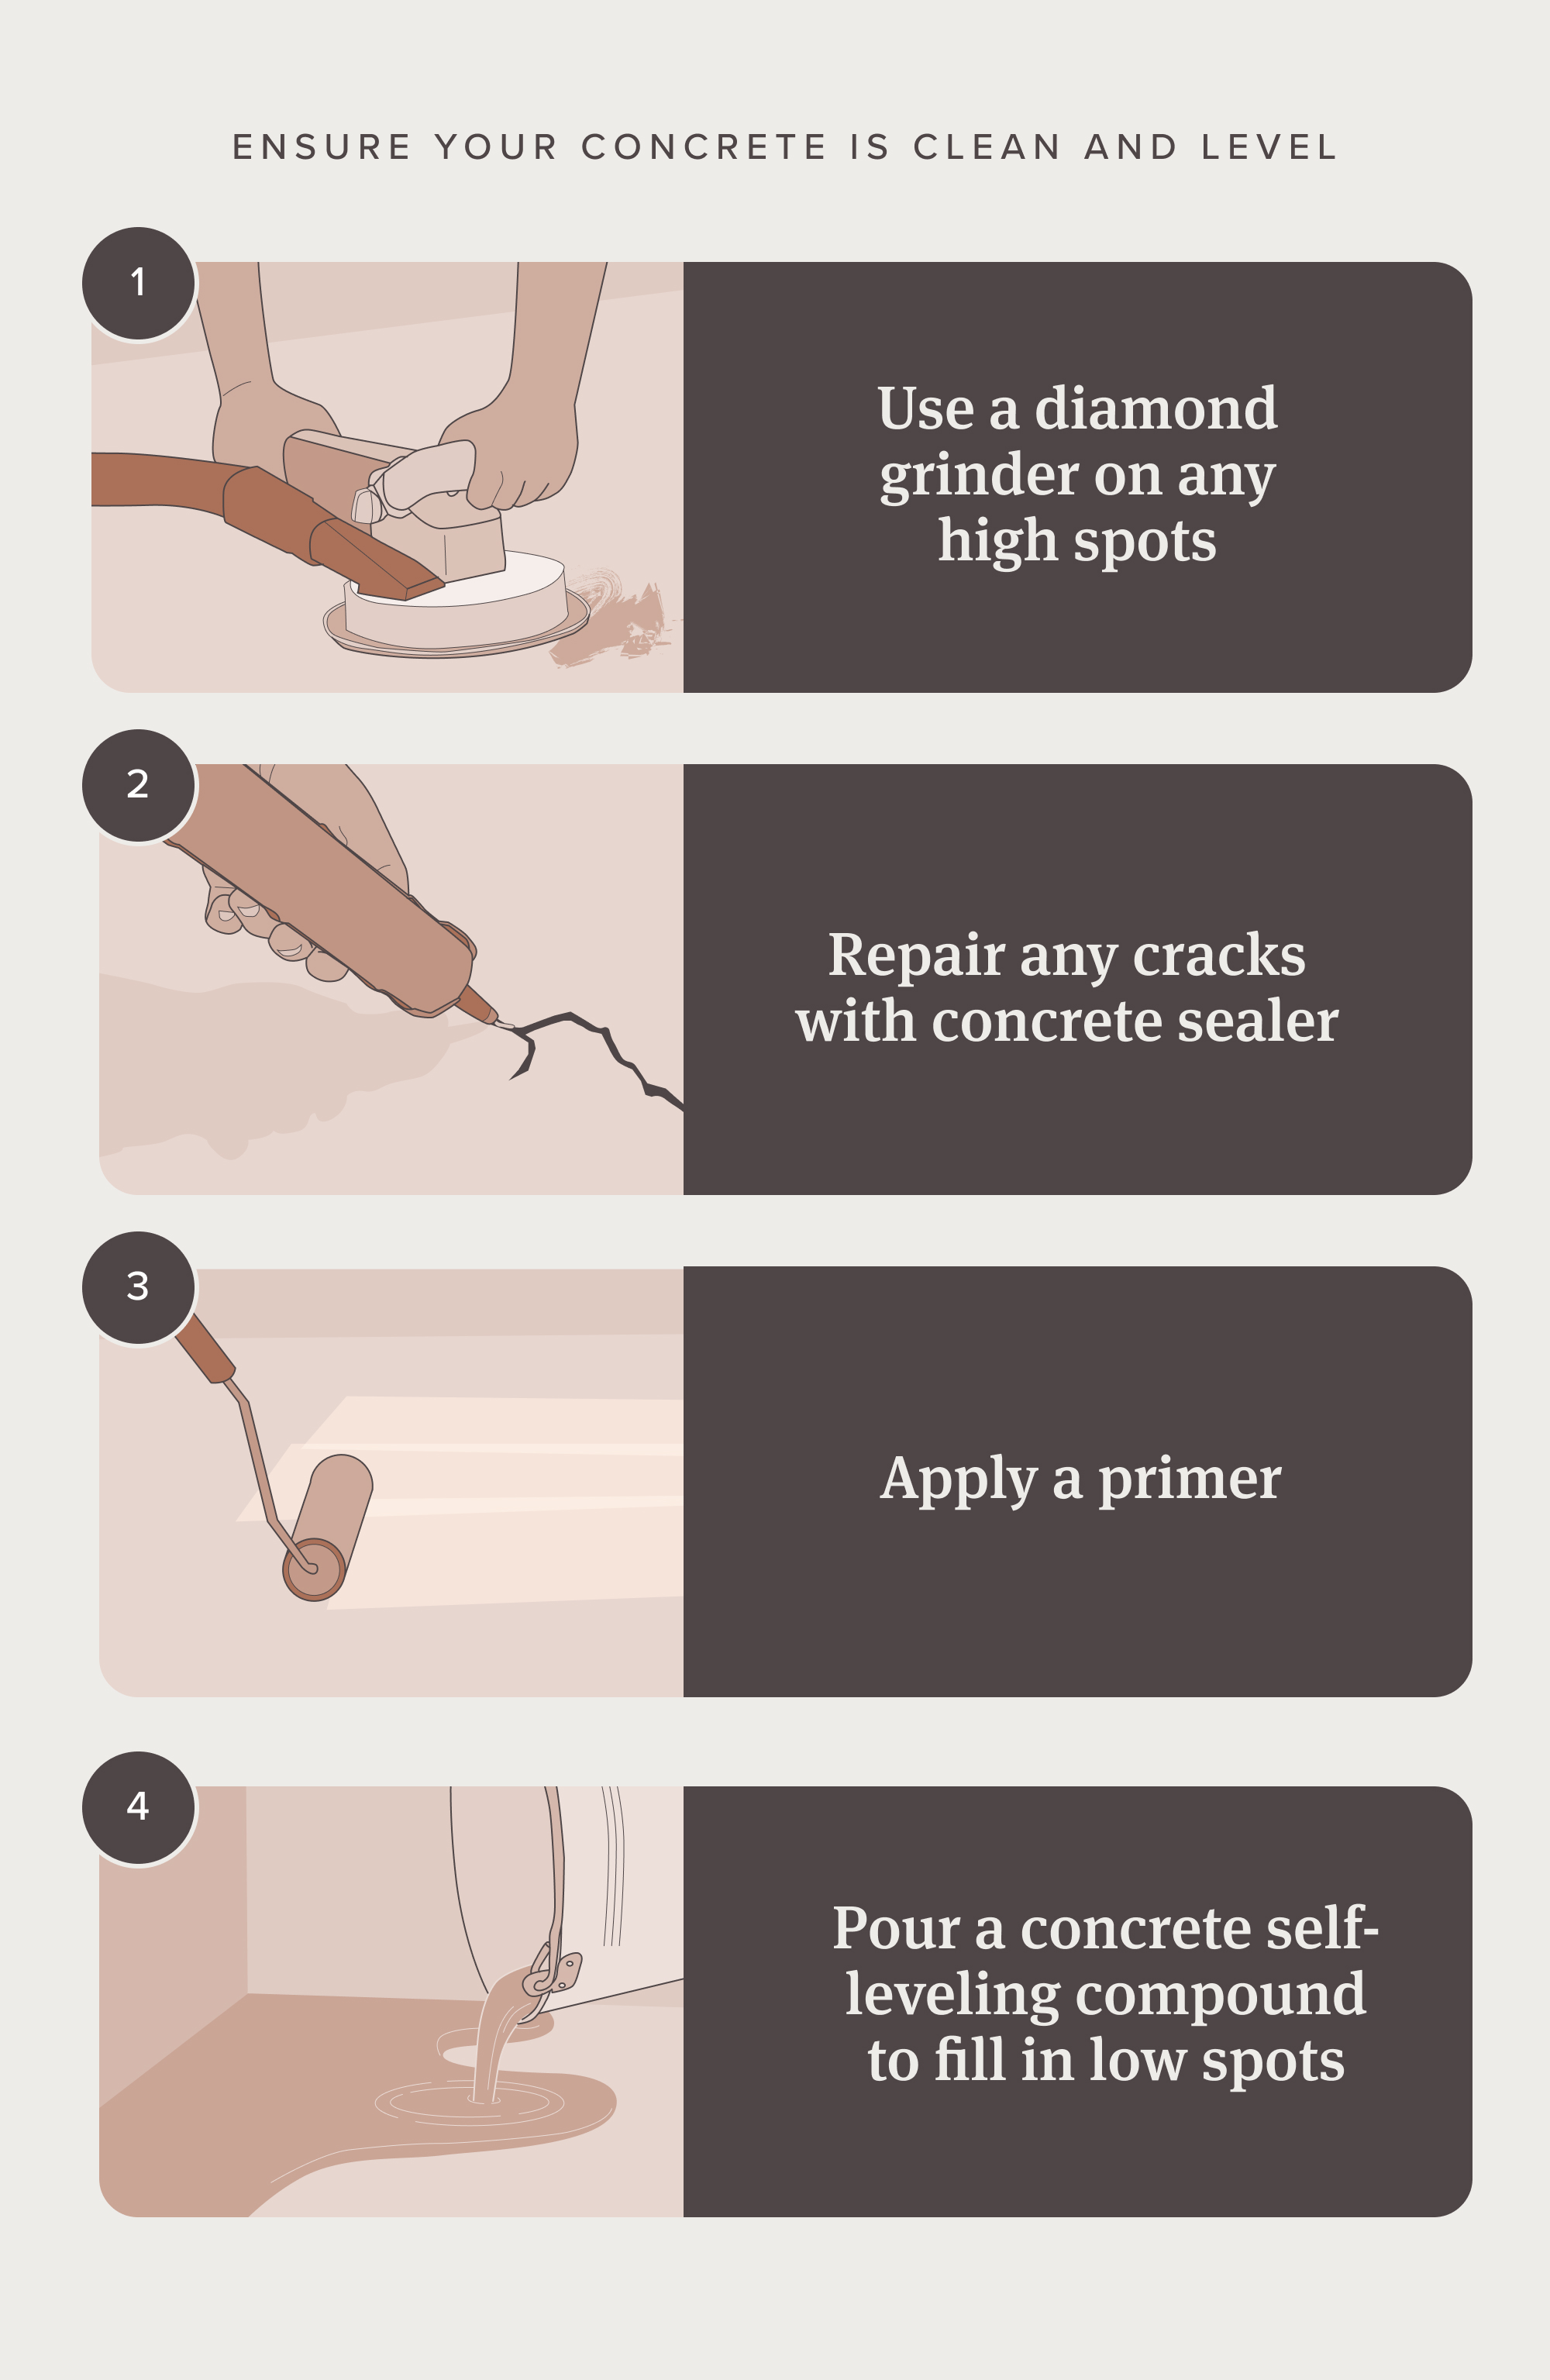
You can install vinyl on many types of subfloor, including concrete and wood. But that floor must be flat for your installation to be a success. An uneven subfloor can lead to potential problems, such as planks having varying heights that will make the flooring unstable and wear down more quickly. Planks installed on an uneven floor can also lead to hollow spots, bouncing floors, and flooring joints separating, breaking, or splitting, causing the floor to fail.
Tip: Use a level or straight edge to ensure the floor is flat before installing your vinyl. If it's not, identify the high or low spots to even them by diamond grinding the high spot and filing in the low using a floor-leveling compound or patch.
2. Leaving Dirt and Debris on the Subfloor
Your subfloor doesn't just need to be even—it also needs to be clean. Skipping this step can make installation more challenging, whether using a click-float or glue-down style of flooring. Dirt and debris can inhibit the adhesive from working properly, or can “telegraph” to the surface of thinner flooring, or create a “crunch” underfoot. So, it's important that you vacuum, sweep, and mop the subfloor before your installation.
Tip: Make sure your subfloor is completely dry after cleaning it before you begin the installation.
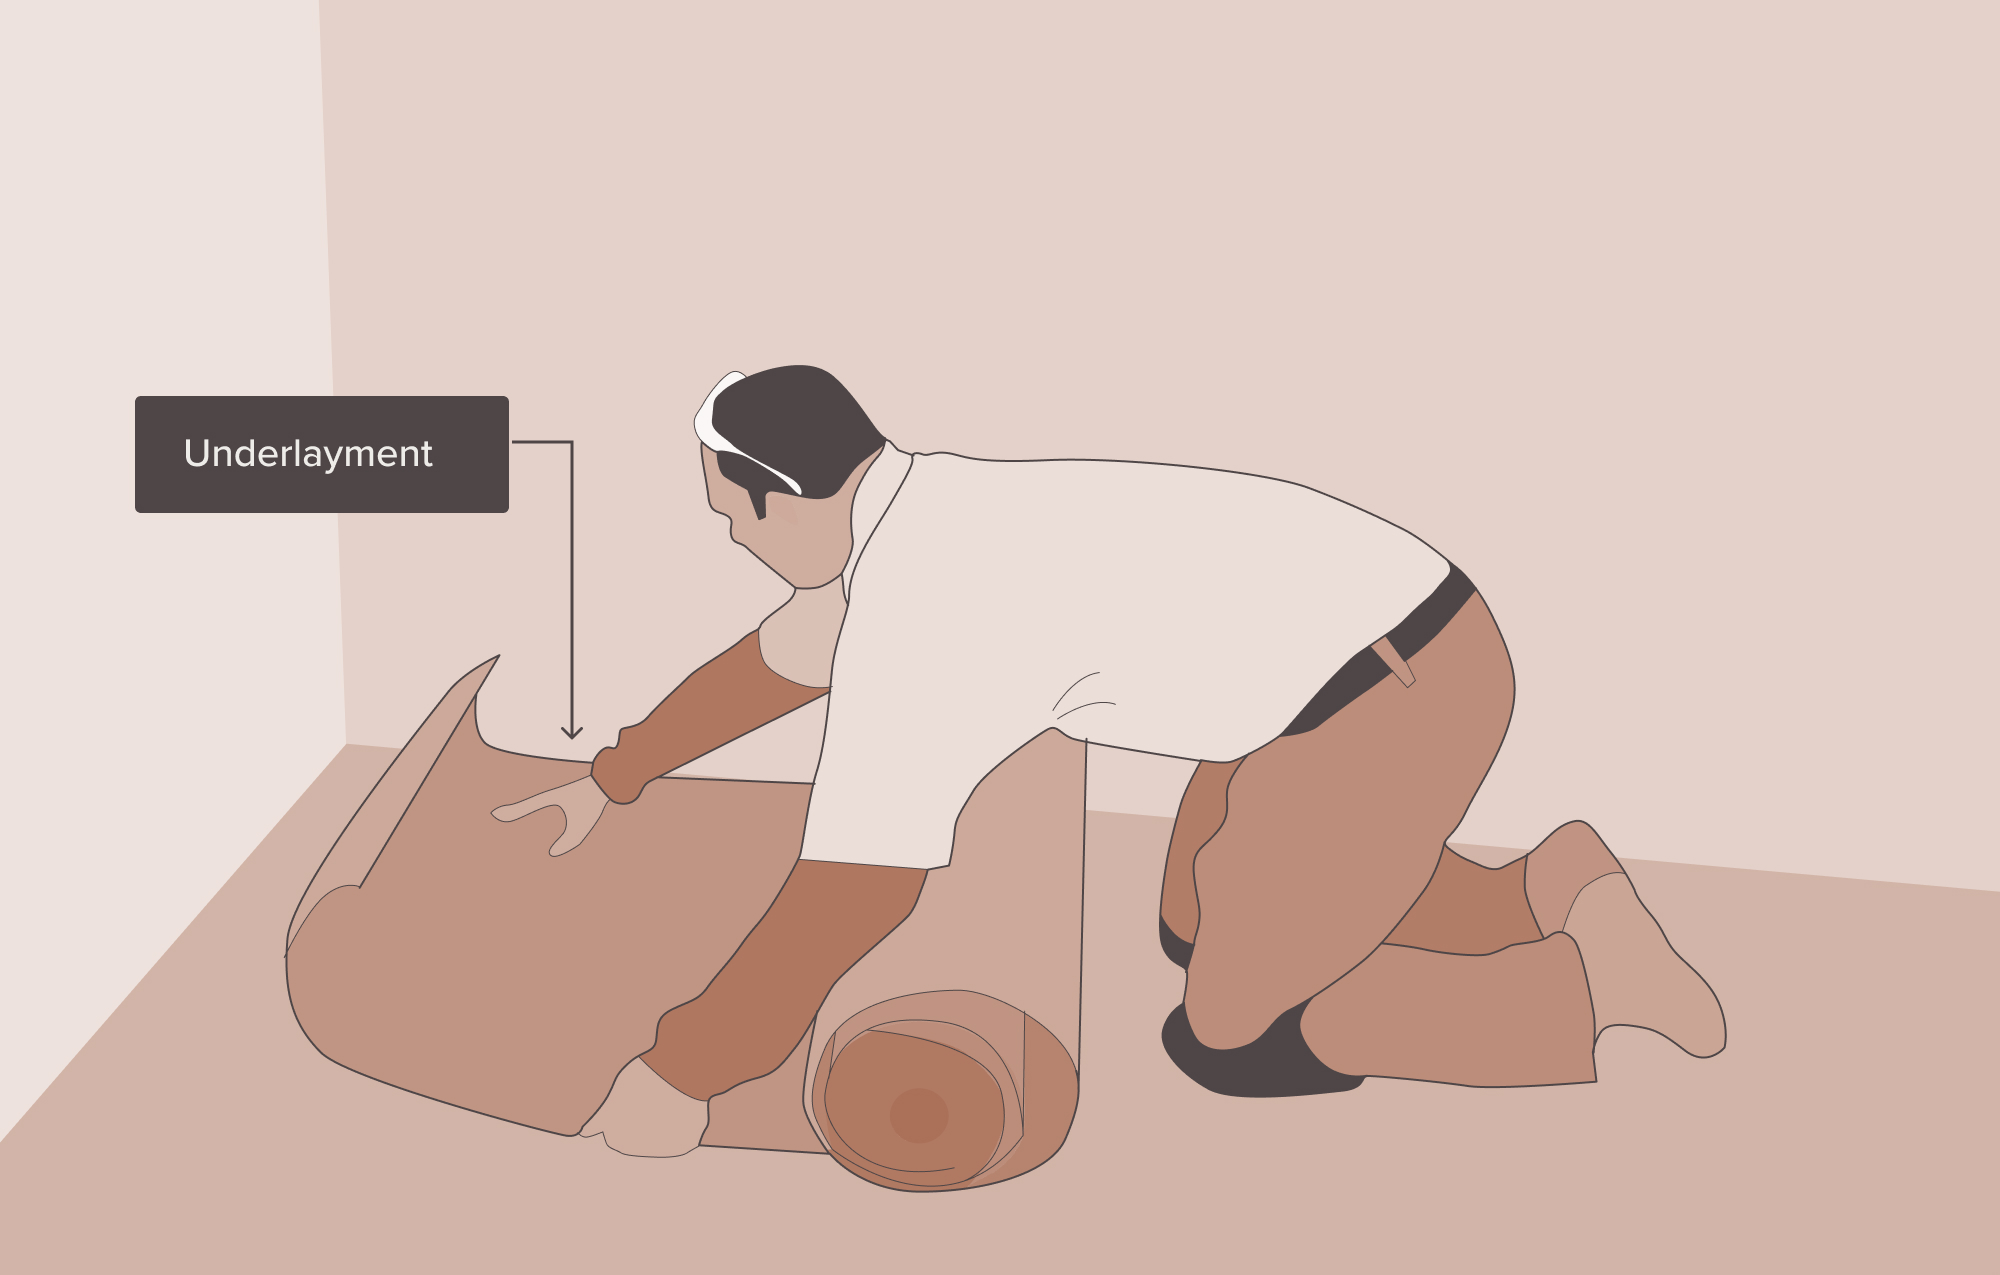
3. Forgetting an Underlayment and Moisture Barrier
Underlayment can enhance your flooring installation by creating a more comfortable feel underfoot, reducing sound, and even smoothing out imperfections. Foregoing an underlayment can be problematic if you're looking for comfortable and quiet floors. Underlayment can also serve as a moisture barrier. If you're installing over a concrete subfloor, a moisture barrier is a must to protect your floors from any damp from the concrete. Use 6mil poly in combination with the underlayment of your choosing, or an underlayment with a built-in moisture barrier.
Tip: Underlayment can't be used with peel-and-stick vinyl. Research your vinyl flooring and consider your subfloor to determine if an underlayment is an important part of your installation. Or, if a moisture barrier will suffice.
4. Measuring Your Floor Incorrectly
Incorrect measurements can cause problems during your vinyl flooring installation. If you don't measure your room properly, you risk ordering too much or not enough vinyl flooring. Measurement problems often crop up when your room isn't shaped like a square or rectangle. If you have an oddly shaped room, the measuring can require a bit more work—and some basic math.
Tip: If your room isn't an easy-to-measure shape, Sketch out your room on graph paper to scale one square equal to one foot. It is easy to divide the room into sections and add each together. Most vinyl flooring is sold by the box, so once you have your number of square feet, divide that by the number of square feet in a box. Then, round up to the nearest box. LL Flooring’s website can do this for you. Always add more flooring for cutting waste by 5-10%, and make sure you have some leftovers for possible future repairs.
5. Not Having the Right Tools on Hand
There's nothing more frustrating than being in the middle of a DIY project and realizing you don't have all the right tools and materials. Before your flooring installation, ensure you have all the tools you need before you start. While you don't need many tools and materials, you will need a few basics, which may include: adhesive (if you're using a glue-down installation), a tape measure, a straight edge, a utility knife, or vinyl cutters, a tapping block, and a rubber mallet. Remember, a chop saw, and maybe a pneumatic finish nailer will make life easier when installing trim, e.g., baseboard or Quarter round.
Tip: Refer to your manufacturer instructions for a list of tools specific to your flooring type, and make sure you have them all before you begin.

6. Using Too Much Adhesive
If you're using glue-down vinyl flooring, applying the right amount of adhesive is a must. But if you're using the wrong trowel, it's easy to apply too much adhesive, and if the subfloor has too much adhesive, you might see it seep into your seams between planks. On the other hand, if you don't use enough adhesive, your planks might not stick to the floor as intended.
Tip: Always use the recommended trowel. Its size is given in the adhesive instructions. Always read the instructions to check cure times.
7. Forgetting Molding and Trim
Moldings and trim (e.g., baseboards and quarter rounds) are important elements of your room and play a key role in your flooring installation. So don't forget about your molding and trim options when you're updating your space. You might, for example, choose to remove your baseboards when installing your floors—and maybe even replace them when your floors are complete. Or perhaps you'll need to add a transition strip to ensure your installation has a sharp finish when going to another floor finish.
Tip: LL Flooring offers a variety of molding and trim options that coordinate with many vinyl flooring styles.
8. Not Acclimating Your Flooring to the Room
You might be ready to tackle your installation as soon as your flooring arrives, but doing so can cause a headache later. Vinyl flooring needs to acclimate in the room for 24 to 48 hours. If you install your flooring before it acclimates, you increase the risk of the floors buckling or gapping, so this step is essential for a successful installation.
Tip: During acclimation, keep the temperature of the room moderate, set between 60 and 80 degrees.
These common mistakes when installing vinyl plank flooring don't have to happen. You just need to take your time, refer to manufacturer instructions, and ensure that you have the underlayment, tools, and cleaning supplies you need to get started. For additional guidance on vinyl flooring, check out how to install click vinyl.
Shop this Article
Related Articles