
Glue-Down Vinyl Plank Flooring
Glue-down vinyl flooring can add beauty with wood-inspired and stone-inspired looks.
Update Your Room With Glue-Down Vinyl Plank Flooring
Vinyl flooring is a popular choice for the home, thanks to its affordability and a wide variety of design options, including wood-look and stone-look options. Once you've decided on the right vinyl for your home, it's time to focus on the installation. Glue-down vinyl flooring is a secure installation suitable for commercial use.
What Is Glue-Down Vinyl Plank Flooring?
As the name suggests, an adhesive is applied to the subfloor, and planks are placed into the adhesive glue-down. This securely attaches each plank to the subfloor. You can use the glue-down method to install various types of flooring, but this guide refers exclusively to vinyl flooring and the tips and tricks you'll need for a secure and successful vinyl installation. Read on to learn more about this DIY-friendly installation method.
Benefits of Glue-Down Vinyl Flooring
Opting for a glue-down installation offers several key benefits. Most notably, using adhesive to anchor down your vinyl floors is the most stable and secure method currently available. As a result, it's a popular choice for commercial spaces with heavy foot traffic. But it's equally useful in residential settings as well, as it helps to ensure that your vinyl flooring is securely installed for years to come.
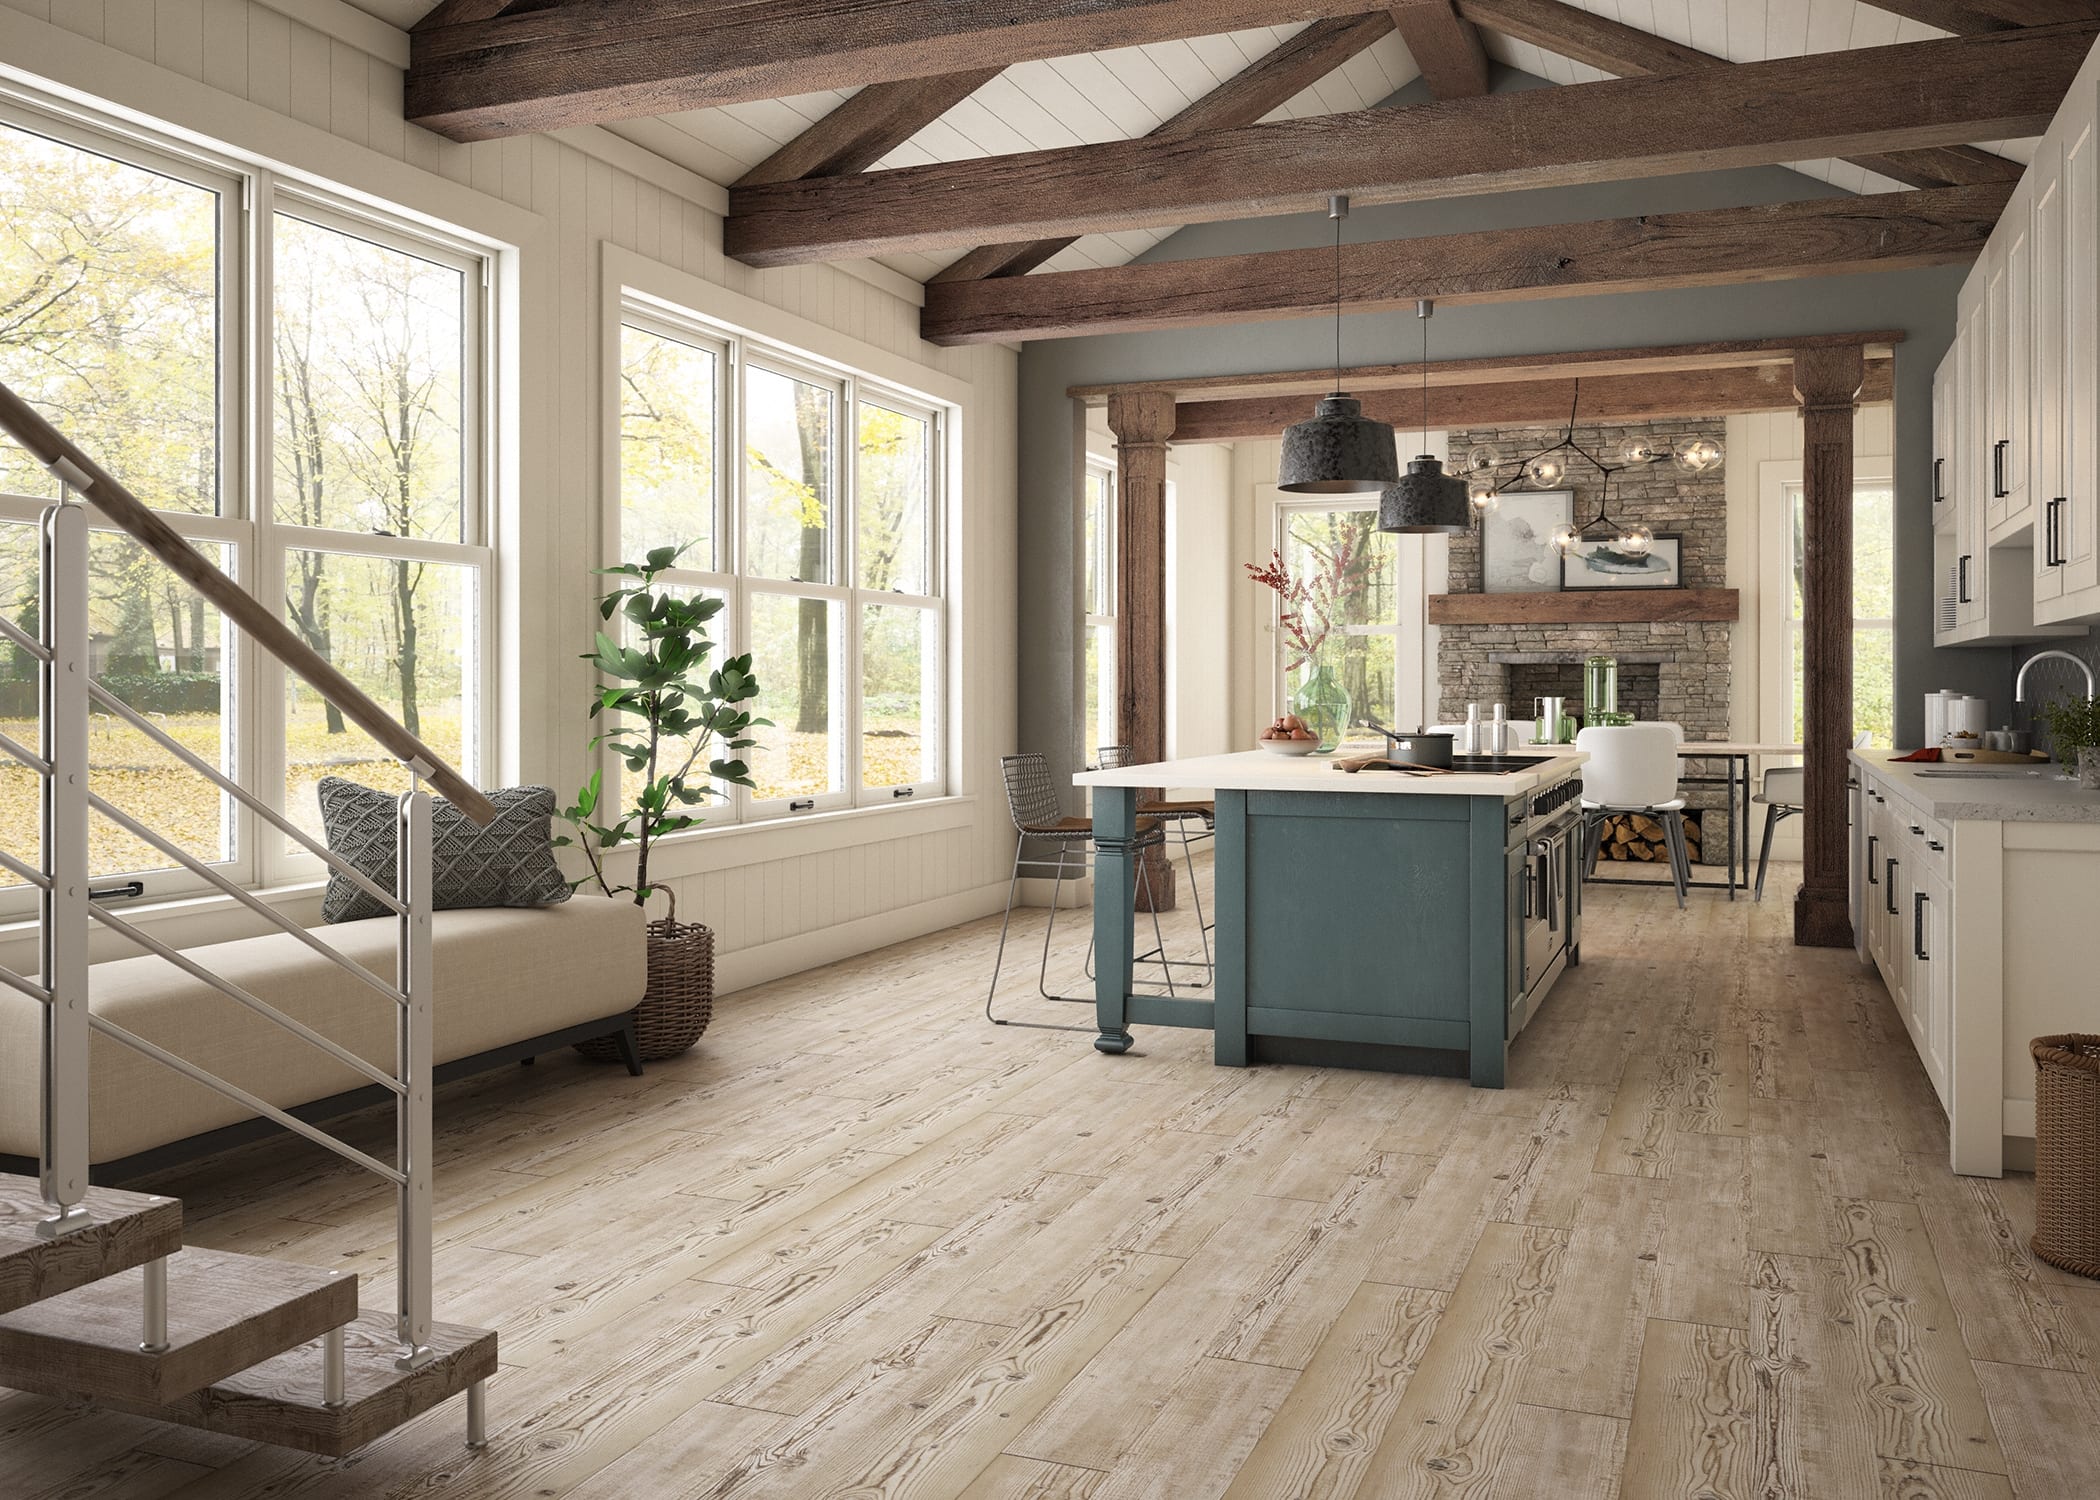
Most notably, glue-down vinyl flooring is well suited for spaces exposed to more light and extreme temperatures, such as sunrooms. A flooring adhesive helps the floor withstand temperature changes and helps to ensure that the vinyl planks stay in place, no matter the conditions.
It can greatly improve the sound & feel of your flooring.
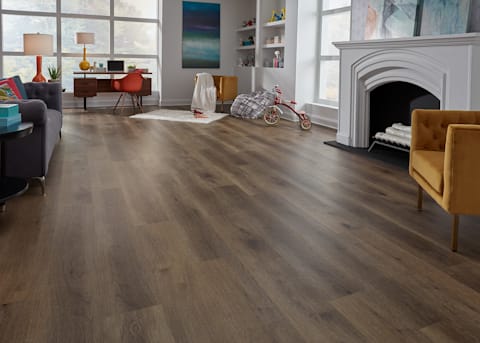
Featured Floor:
CoreLuxe XD 7mm w/pad Old Port Pine Waterproof Rigid Vinyl Plank Flooring
7 in. Wide x 60 in. Long
Preparing Your Room and Floor for Installation
Before laying your vinyl planks down, you must tackle several important tasks to prepare the planks and the floor for proper installation. Follow these tips as you begin this project:
- Acclimate the vinyl planks to the room. You'll want to bring the flooring into the room where you plan to install it and let it acclimate for 48 hours. Ensure the room temperature stays between 60 degrees and 80 degrees Fahrenheit to allow for proper acclimation.
- Invest in the right adhesive. Check your flooring manufacturer's instructions to ensure you use the proper adhesive for your installation of vinyl.
- Prepare the subfloor. You can adhere glue-down vinyl flooring to various types of subfloor, including concrete, wood, or properly prepared tile. The subfloor must be flat and smooth since imperfections can sometimes telegraph through the planks. Also, ensure that the subfloor is clean and free of dirt, dust, oil, and debris. You may need to grind the floor to remove contaminants.
Tools Required
- Vinyl flooring
- Vinyl flooring adhesive
- Tape measure
- Trowel
- Pressure roller
- Straight edge
- Utility knife
- Pencil
- Chalk line
Installation Tips and Tricks
Your manufacturer's instructions will provide specific guidance on how to install glue-down vinyl planks flooring. But these tips and tricks can help ensure successful installation and avoid common problems.
- When you're using the pressure roller to complete the installation of each plank, be sure to roll it in both directions to stick the plank into the adhesive firmly.
- Consider a vinyl plank with a pad attached to improve thermal and acoustical properties. LL Flooring's padded plank can be glued down.
- Remove your existing baseboards before installation to make flooring installation easier.
- Some adhesives are pressure sensitive and need to dry before installing the flooring. The adhesive “grabs” the flooring, so make sure planks are placed properly. Others offer a wet or semi-wet set method ideal for angle tap installation where the planks must slide a little into place. Always use the correct trowel to make sure adhesive is applied at the correct rate.
After-Installation Care
Once your vinyl flooring is installed, you want to ensure it's maintained for years to come. Follow these suggestions to deliver proper care and maintenance to your new glue-down vinyl floors:
- Since you'll need to remove molding and trim, such as baseboards, for your flooring installation. Now might be a good time to replace those, too. At LL Flooring, you can find coordinating transitions and moldings for all floor styles, helping to create a seamless look throughout your space.
- Check your Warranty, Installation, & Care (WIC) guidelines for specific information about caring for your vinyl floors.
- Wait 48 hours before cleaning your newly installed vinyl floors.
- We recommend using a Bellawood Floor Care Kit, which includes everything you need to keep your floor, which includes everything you need to keep your floor, which includes everything you need to keep your flooring in top condition. This kit includes a mop handle, wet and dry mop pad, and Bellawood Floor Cleaner.
If you're ready to give your floors an update, check out our collection of glue-down vinyl available at LL Flooring.
Related Articles